Kingdom Come Deliverance 2: Forbidden Fruit Walkthrough
 Vladislav Sham
Forbidden Fruit in Kingdom Come: Deliverance 2 is the second mandatory mission in the miller's quest chain that must be completed to progress through the storyline. We have prepared a detailed guide for the quest and explained which correct answer choices should be selected for the gravedigger to agree to lead Henry to the saltpeter pit.
Walkthrough of Side Quests in Kingdom Come: Deliverance 2
- Kingdom Come Deliverance 2: Mutt Walkthrough (How to Find the Dog)
- Kingdom Come Deliverance 2: Lackey Walkthrough
- Kingdom Come Deliverance 2: Bad Blood Walkthrough
- Kingdom Come Deliverance 2: Materia Prima Walkthrough
- Kingdom Come Deliverance 2: Forbidden Fruit Walkthrough
- Kingdom Come: Deliverance 2: Opus Magnum Walkthrough
- How to Find Armor by Maps in Kingdom Come Deliverance 2: The Lion's Crest Guide
- Kingdom Come Deliverance 2: Invaders Walkthrough
- Kingdom Come Deliverance 2: The Axe from the Lake Walkthrough
- Kingdom Come Deliverance 2: Mice Walkthrough
- Kingdom Come Deliverance 2: The Blacksmith's Son Walkthrough
- Kingdom Come Deliverance 2: The Jaunt Walkthrough
- Kingdom Come Deliverance 2: The Hermit Walkthrough
- Kingdom Come Deliverance 2: Miri Fajta Walkthrough
- Kingdom Come Deliverance 2: The Mouth of Hell Walkthrough
- Kingdom Come Deliverance 2: Bellatores Walkthrough
- Kingdom Come Deliverance 2: Skeleton in the Closet Walkthrough
- Kingdom Come Deliverance 2: Dragon's Lair Walkthrough
- Kingdom Come Deliverance 2: Canker Walkthrough
- Kingdom Come Deliverance 2: Handsome Charlie Walkthrough
- Kingdom Come Deliverance 2: Johnny the Gob Walkthrough
- Kingdom Come Deliverance 2: Casper Walkthrough
- Kingdom Come Deliverance 2: The White Roebuck Walkthrough
- Kingdom Come Deliverance 2: Hush, My Darling Walkthrough
- Kingdom Come Deliverance 2: Absolver Walkthrough
- Kingdom Come Deliverance 2: O Guia da Pedra do Trovão
- Reino Chegado Libertação 2: X Marca o Local Guia
- Kingdom Come Deliverance 2: Guia de Martelo e Tenaz
- Reino Vindo Libertação 2: Guia de Yackers 'n' Fash
- Kingdom Come Deliverance 2: Guia de Resgate
- Kingdom Come Deliverance 2: O Guia do Relicário
- Kingdom Come Deliverance 2: Tu és apenas pó Guia
- Kingdom Come Deliverance 2: Guia dos Tonies Listrados
- Reino Chegado Libertação 2: Guia de Tiro de Papagaio
- Kingdom Come Deliverance 2: Ars Dimicatoria Guia
- Kingdom Come Deliverance 2: Guia de Setas
- Kingdom Come Deliverance 2: In Vino Virilitas Guia
- Reino Vindo Libertação 2: Banquete para os Pobres Guia
- Reino Vindo Libertação 2: Guia de Saques de Guerra
- Kingdom Come Deliverance 2: Post Scriptum Guia
- Reino Vindo Libertação 2: O Guia do Código dos Ladrões
- Reino Vindo Libertação 2: Guia dos Trovadores
- Kingdom Come Deliverance 2: Guia do Pássaro de Prey
- Reino Vindo Libertação 2: Um Bom Guia de Limpeza
- Kingdom Come Deliverance 2: Guia de Reputação Ruim
- Kingdom Come Deliverance 2: O Guia de The Spark
- Kingdom Come Deliverance 2: Guia de Todos os Justos
- Reino Vindo Libertação 2: Guia de Busca por Justiça
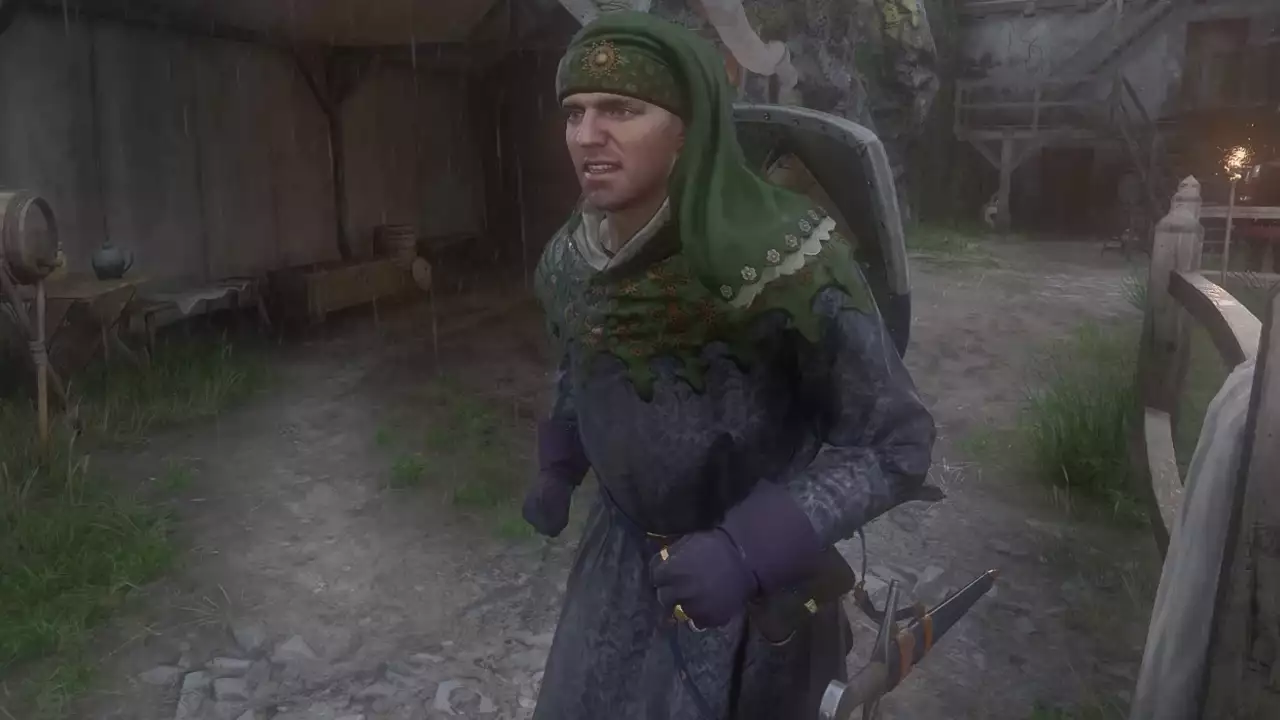
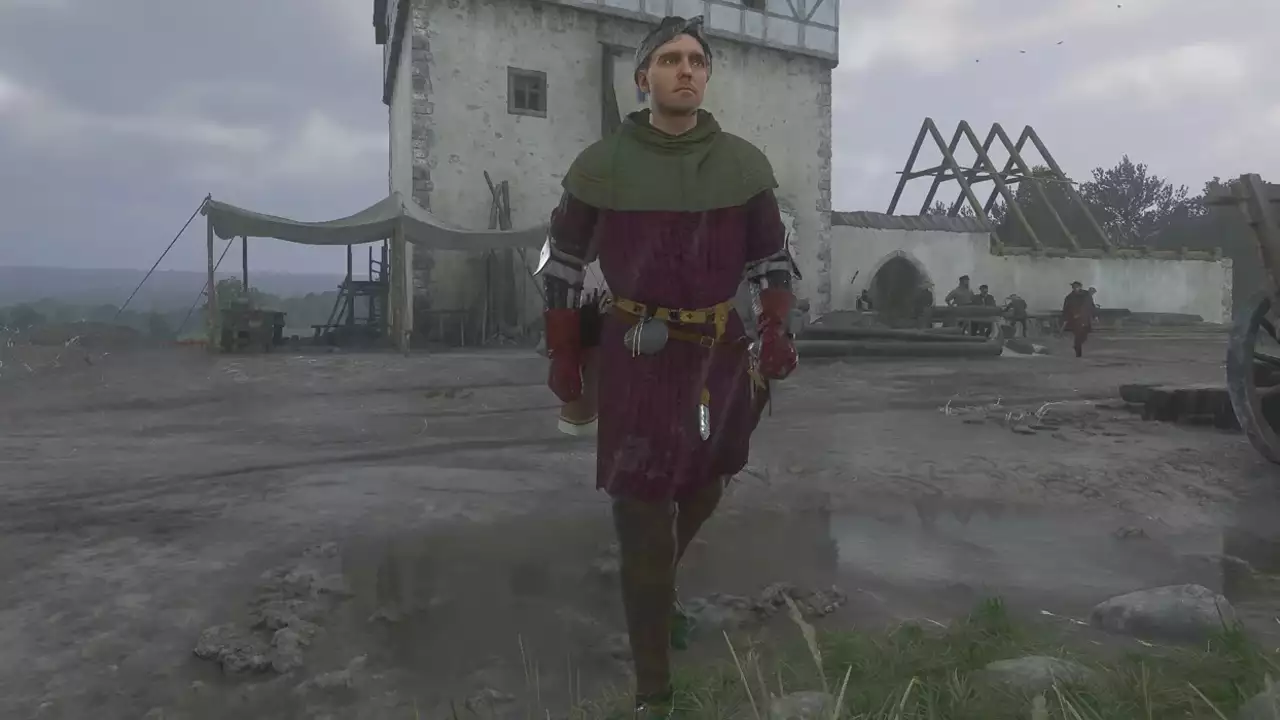
Talk to Bonka
Follow the marker on the map to find a girl named Bonka. During the day, she is busy sweeping the yard in front of her hut, and at night she is inside. On your way to her, we recommend collecting any herb — it can be given to Bonka to increase your reputation. The type and amount of herbs do not matter.
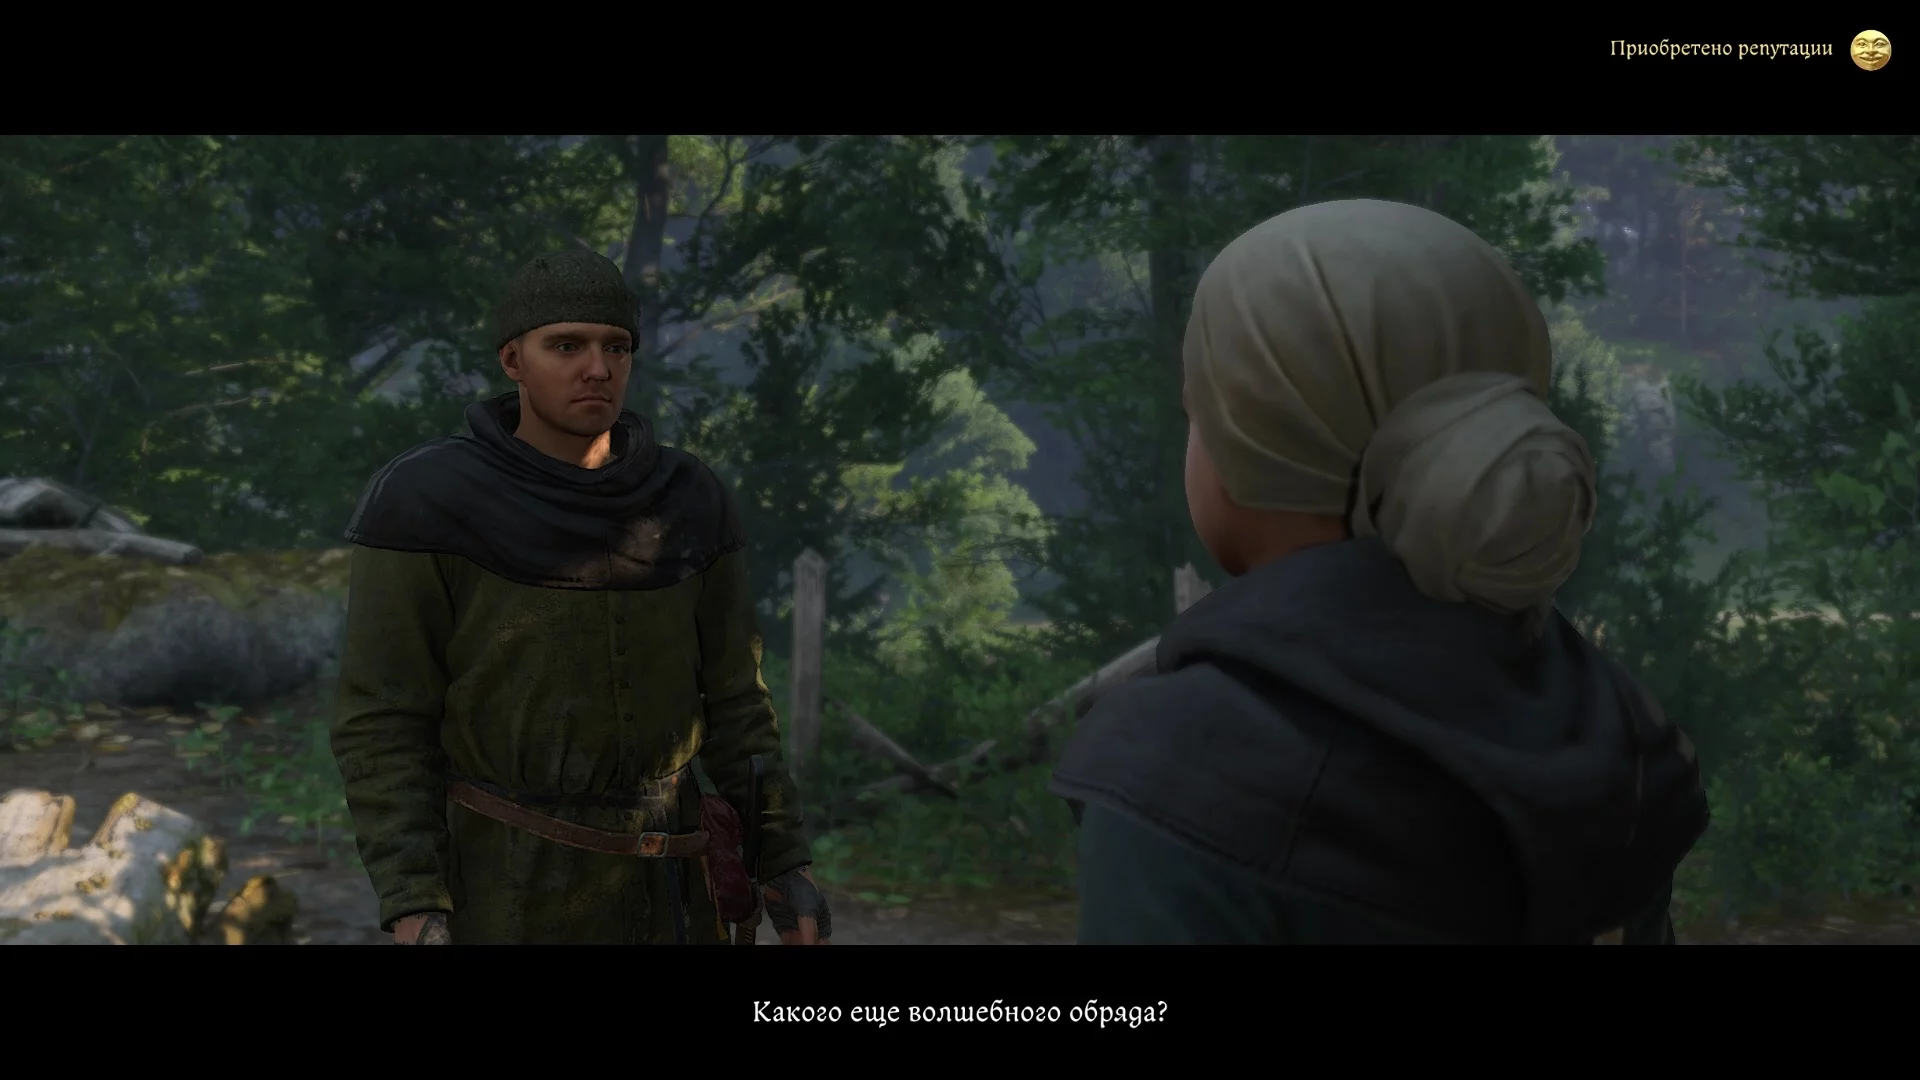
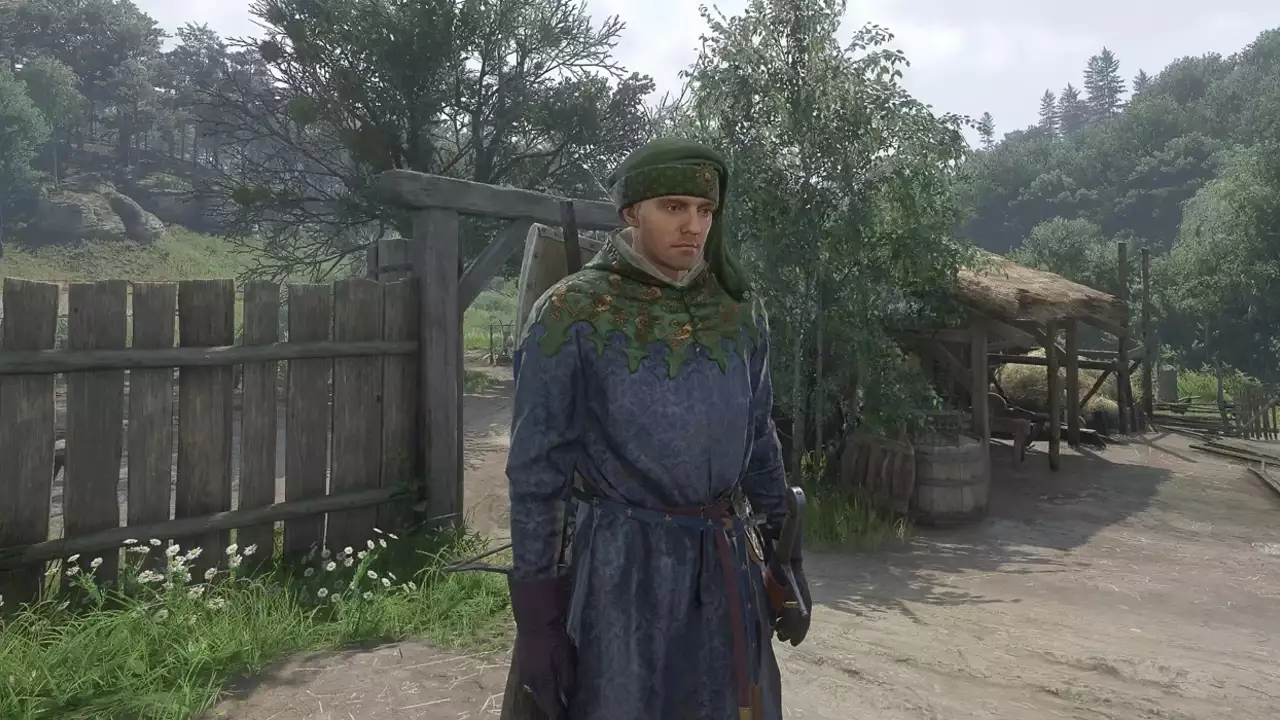
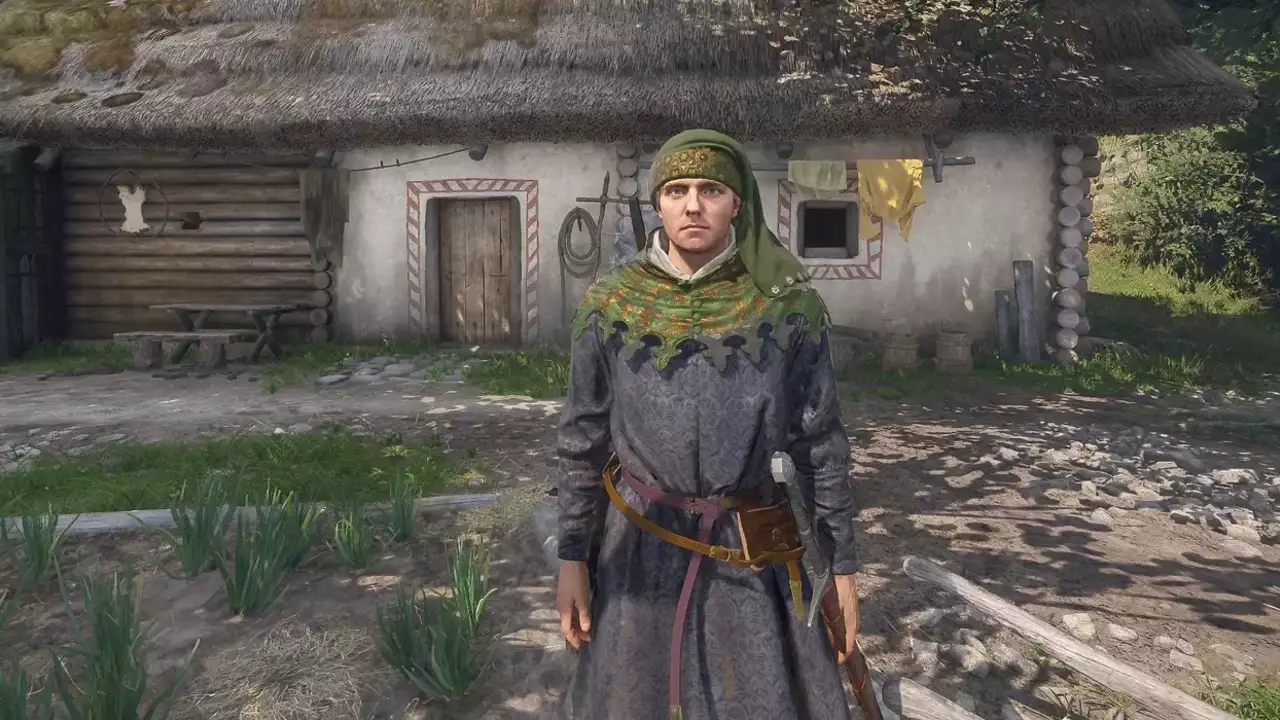
Visit the Gravedigger
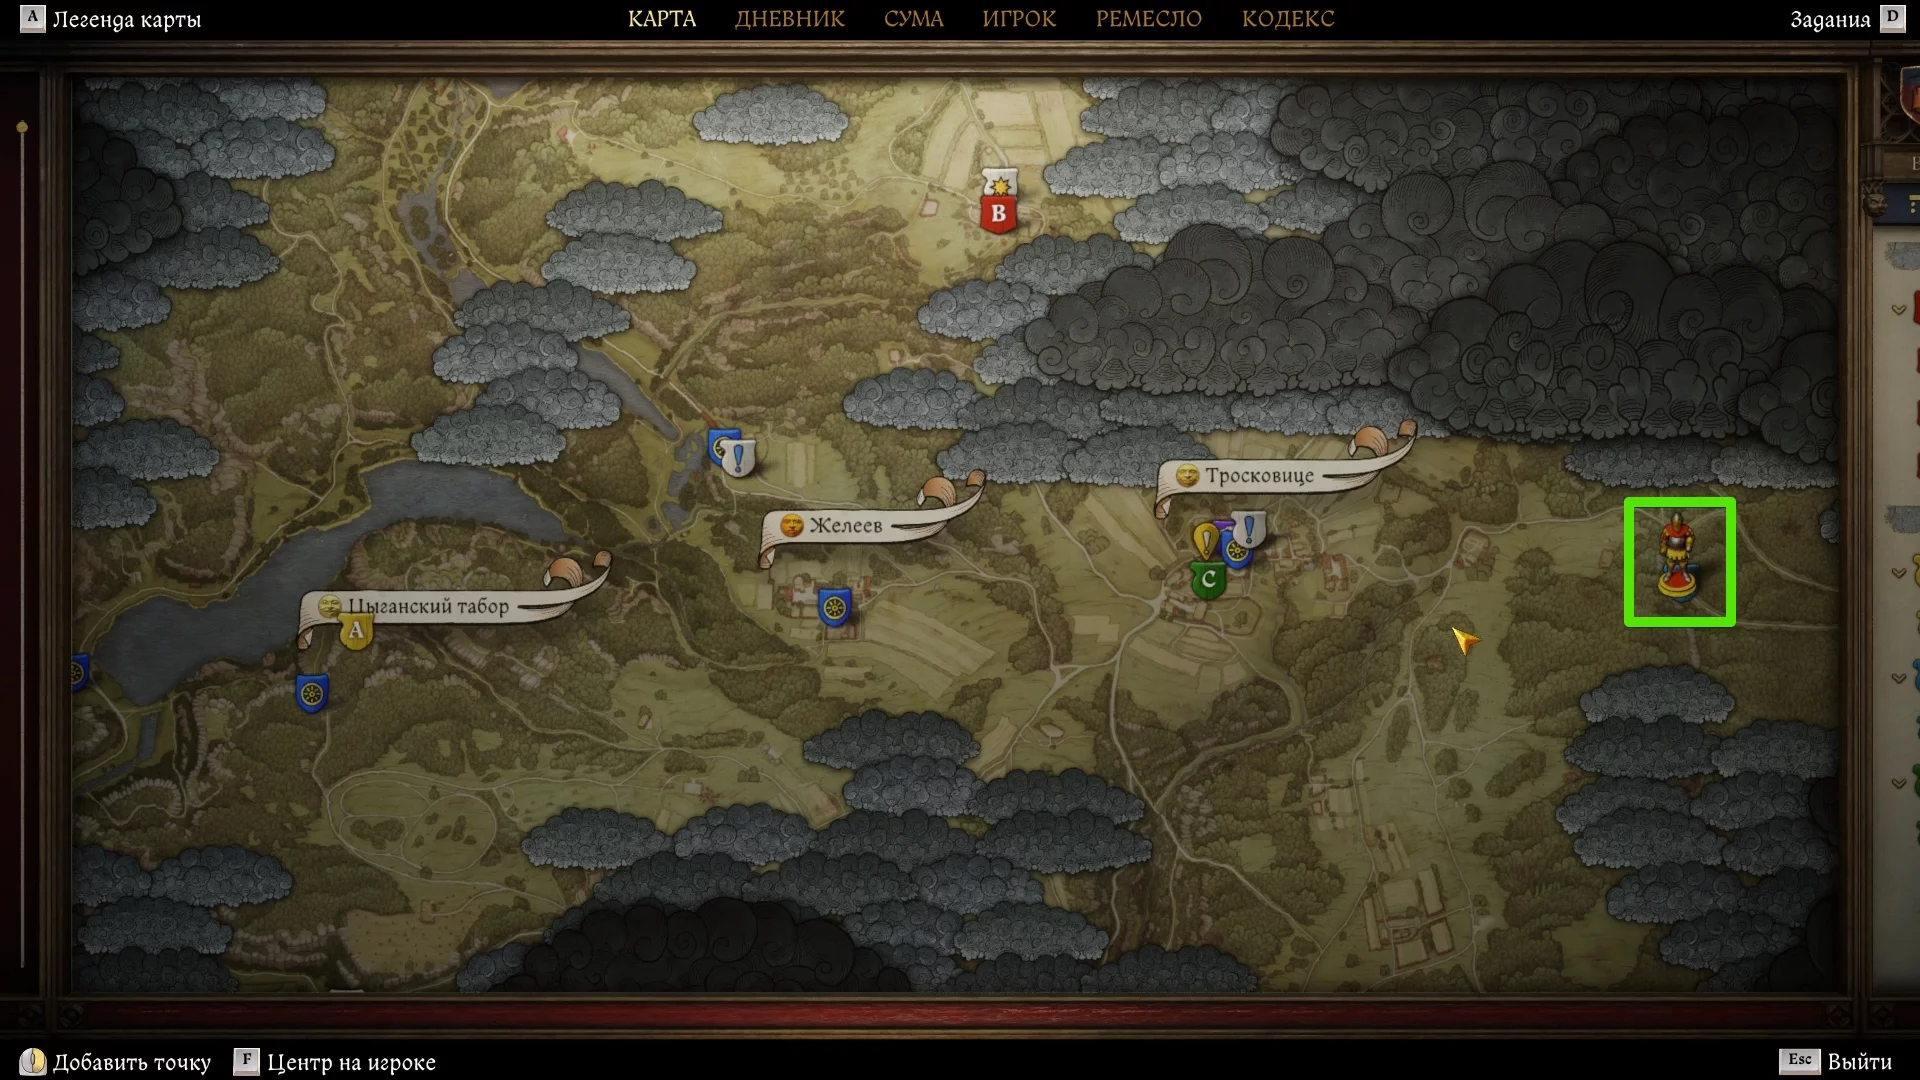
Use fast travel to Troskovice and visit the gravedigger. His hut is located next to the chapel in the eastern part of the town. During the day, he can be found at the cemetery in front of the chapel, and at night in the house. In the second case, it's better to wait until morning, as visiting his house is considered illegal.
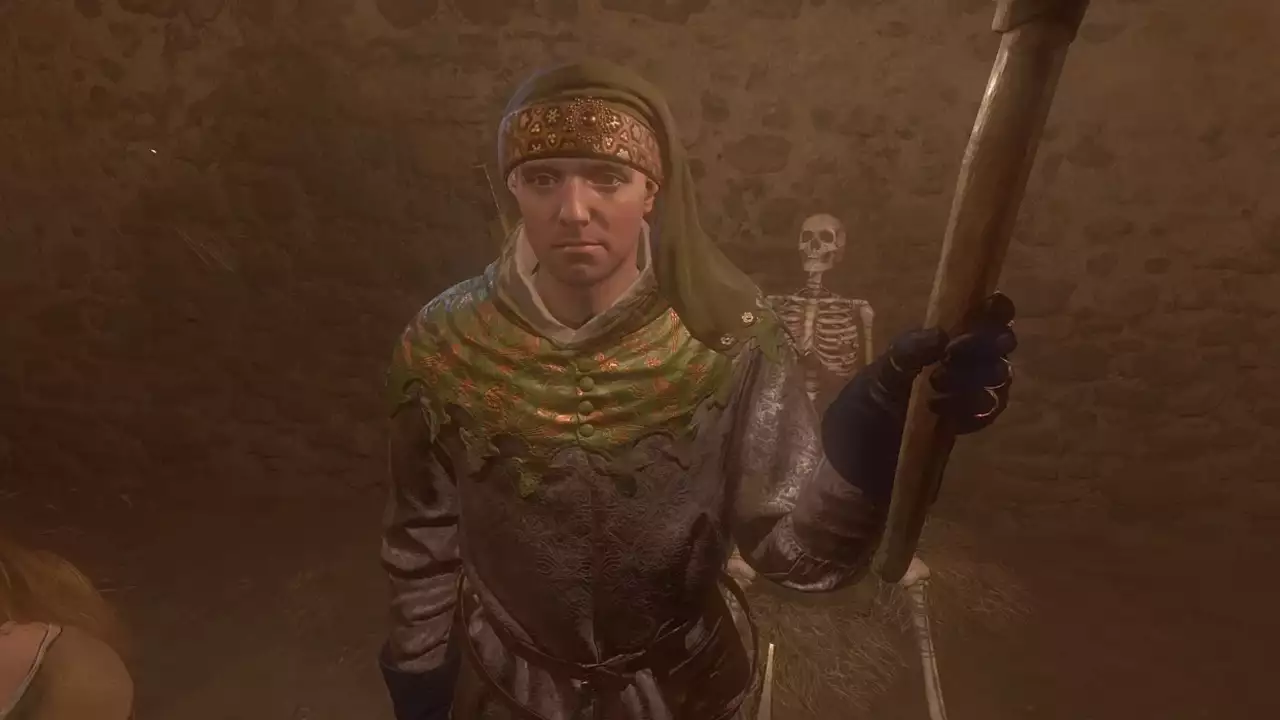
After talking to him, sleep or wait until 6 in the morning, then go to him again. Get into the cart, and then the most interesting part will begin. The thing is, if you answer incorrectly or take wrong actions, he will simply dismount and walk home on foot, and players will have to find the saltpeter pit themselves.
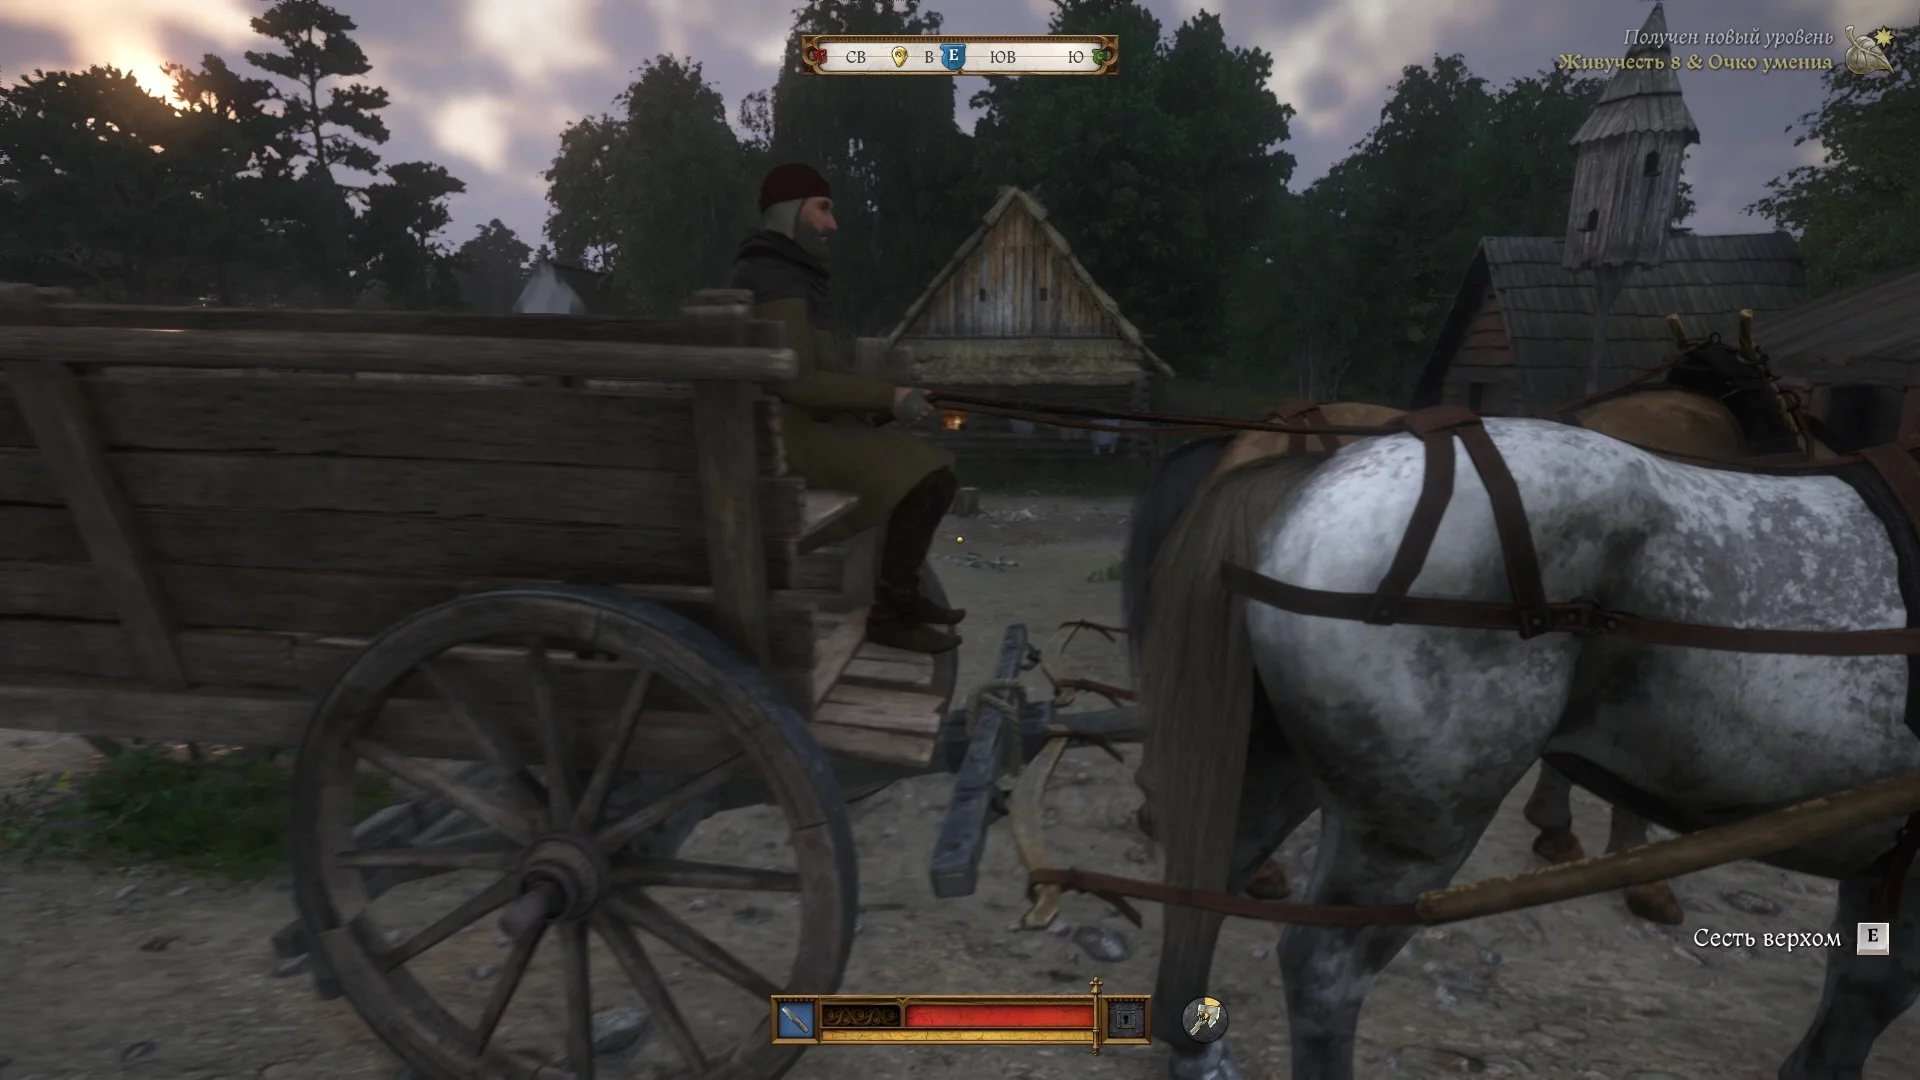
As soon as the cart moves, the man will ask the hero two questions. Ignore both questions, especially the second one. No matter what answer you choose, he will refuse to help.
[spoiler]
<!--spoiler_text_end--><!--/dle_spoiler-->
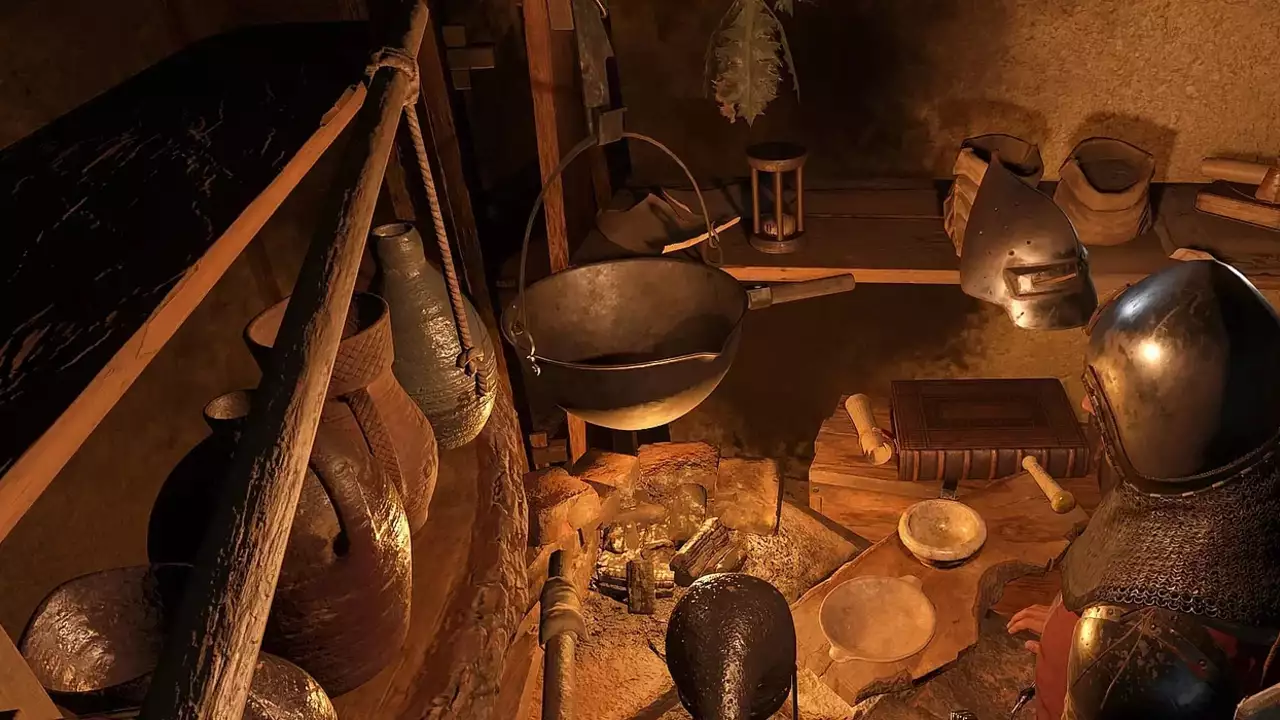
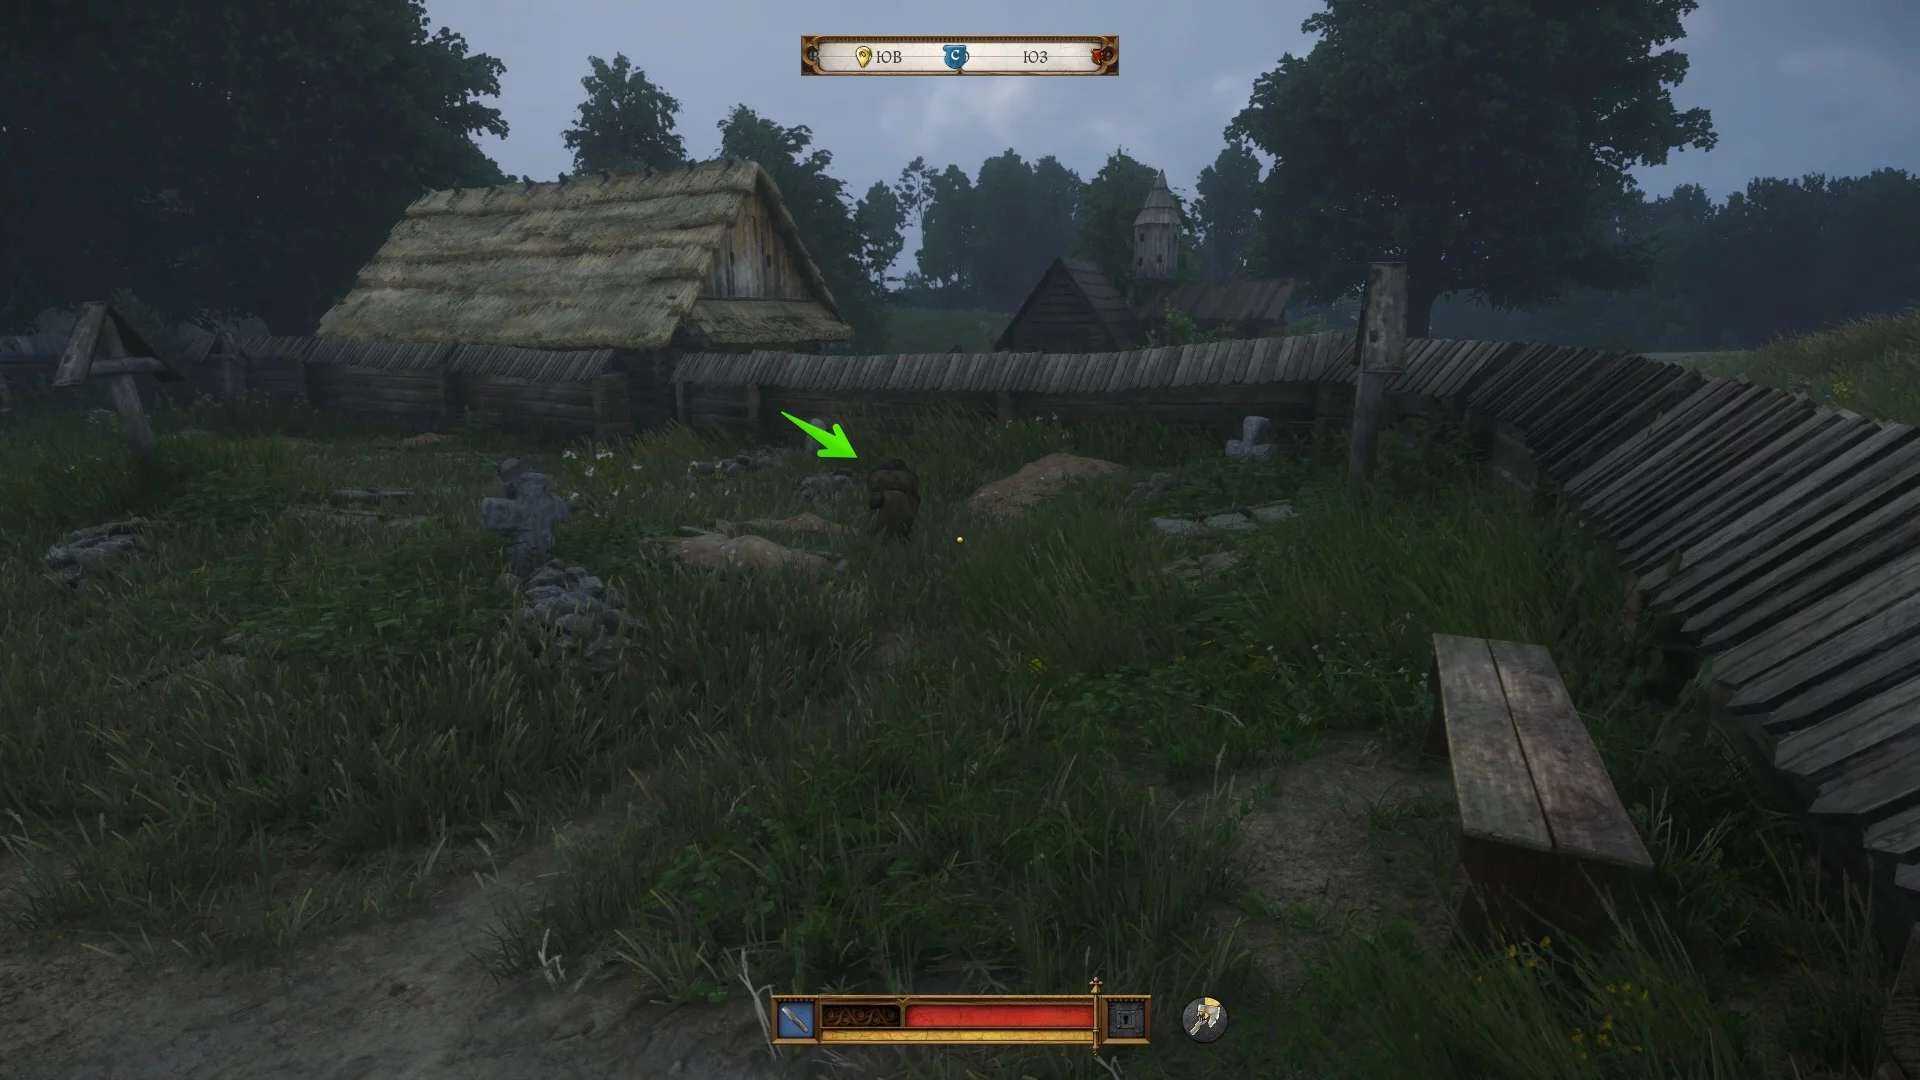
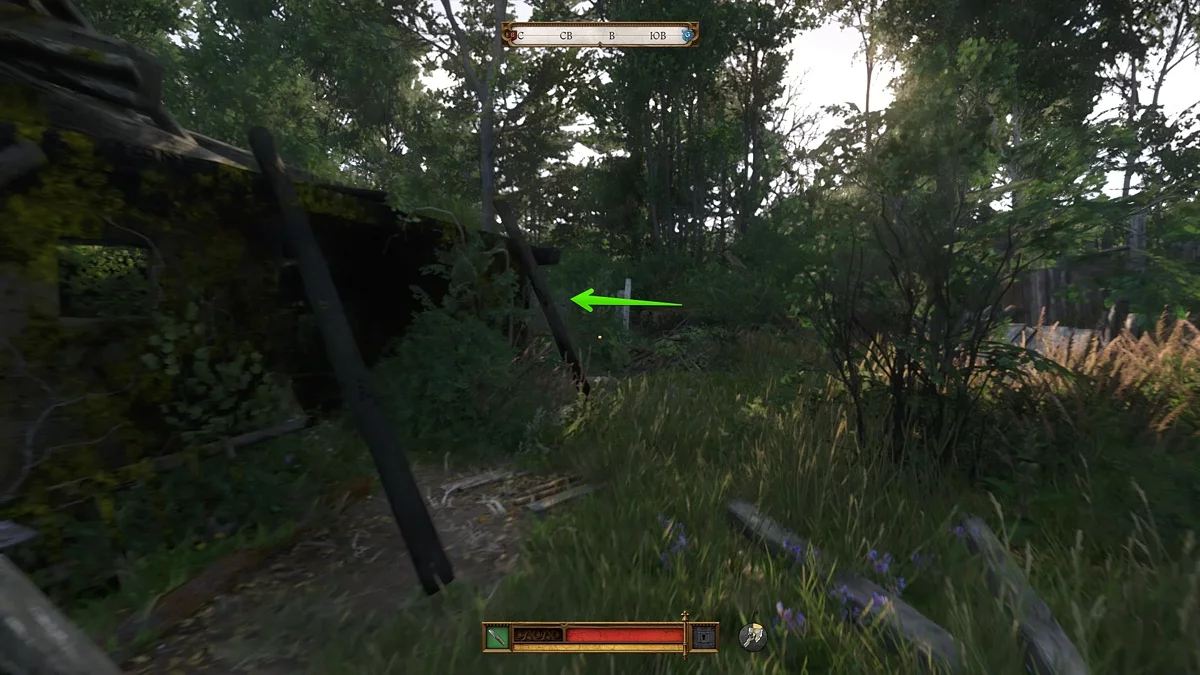
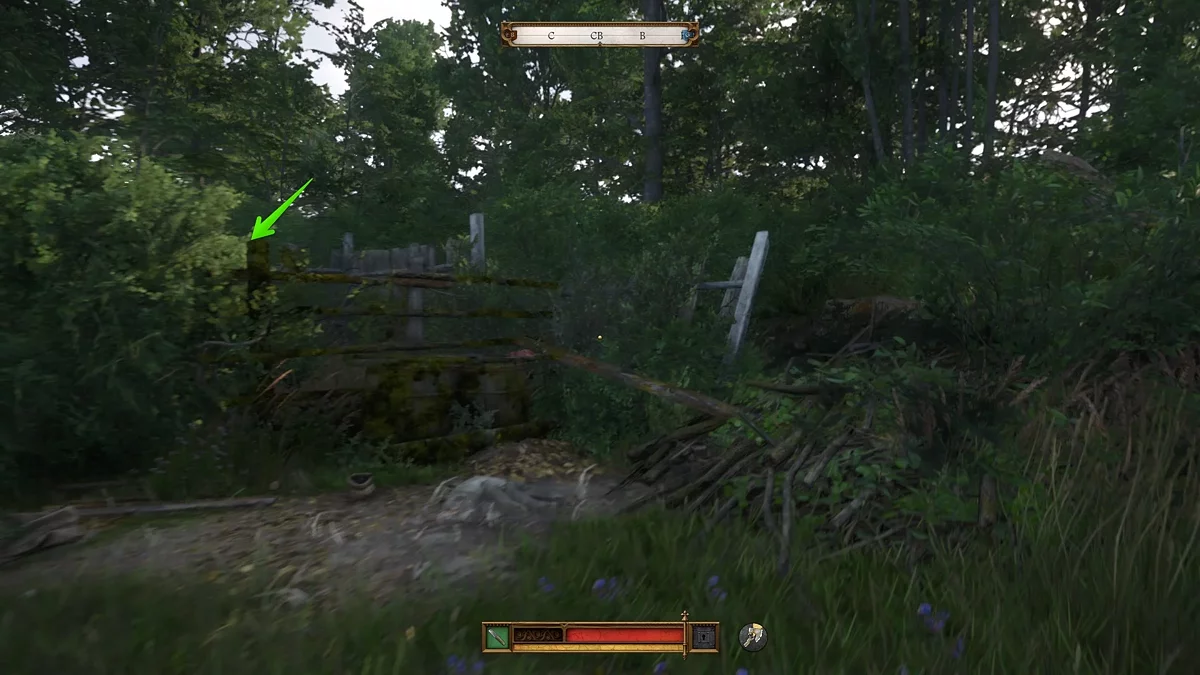
Find the Carcass in the Ruins of the Homestead
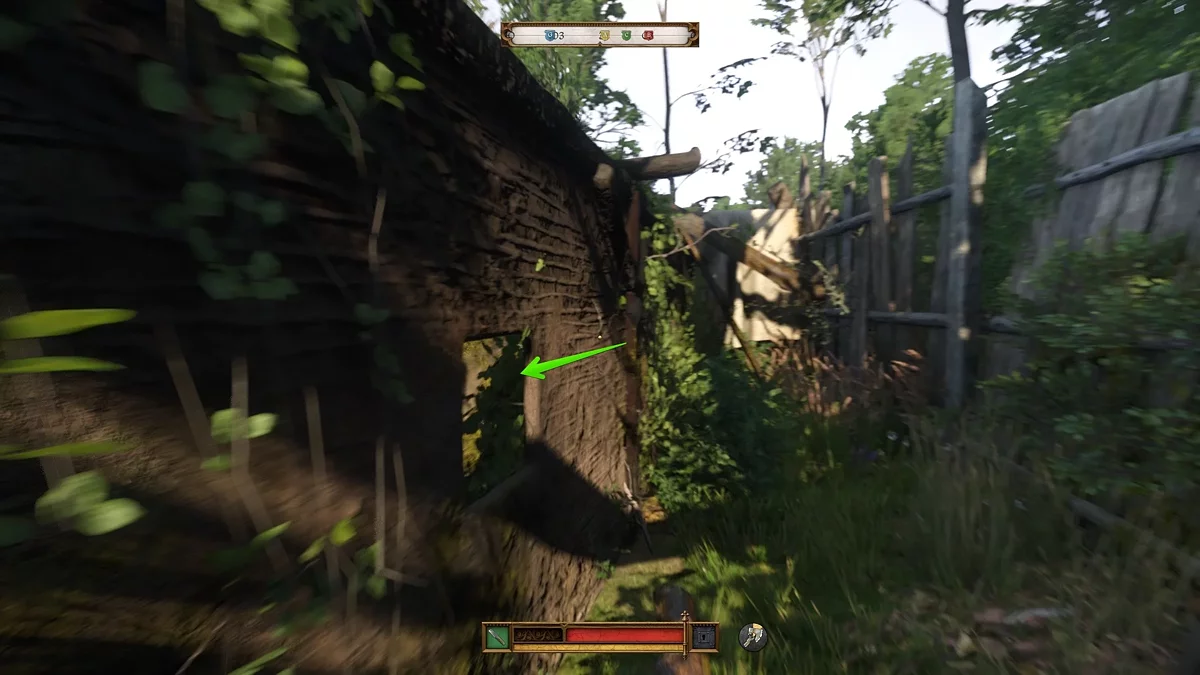
After dismounting, walk a little back along the road and find the ruins of the homestead in the forest thicket. Prepare your weapon, as a wolf roams the area. Kill the animal and inspect the building. The lock on the door is of the highest difficulty, but you can bypass the house and climb inside through the window.
Protect Ignatz from the Laborers
Take the carcass and bring it to the cart. Place it on the cart and approach one of the laborers to find out what's going on.
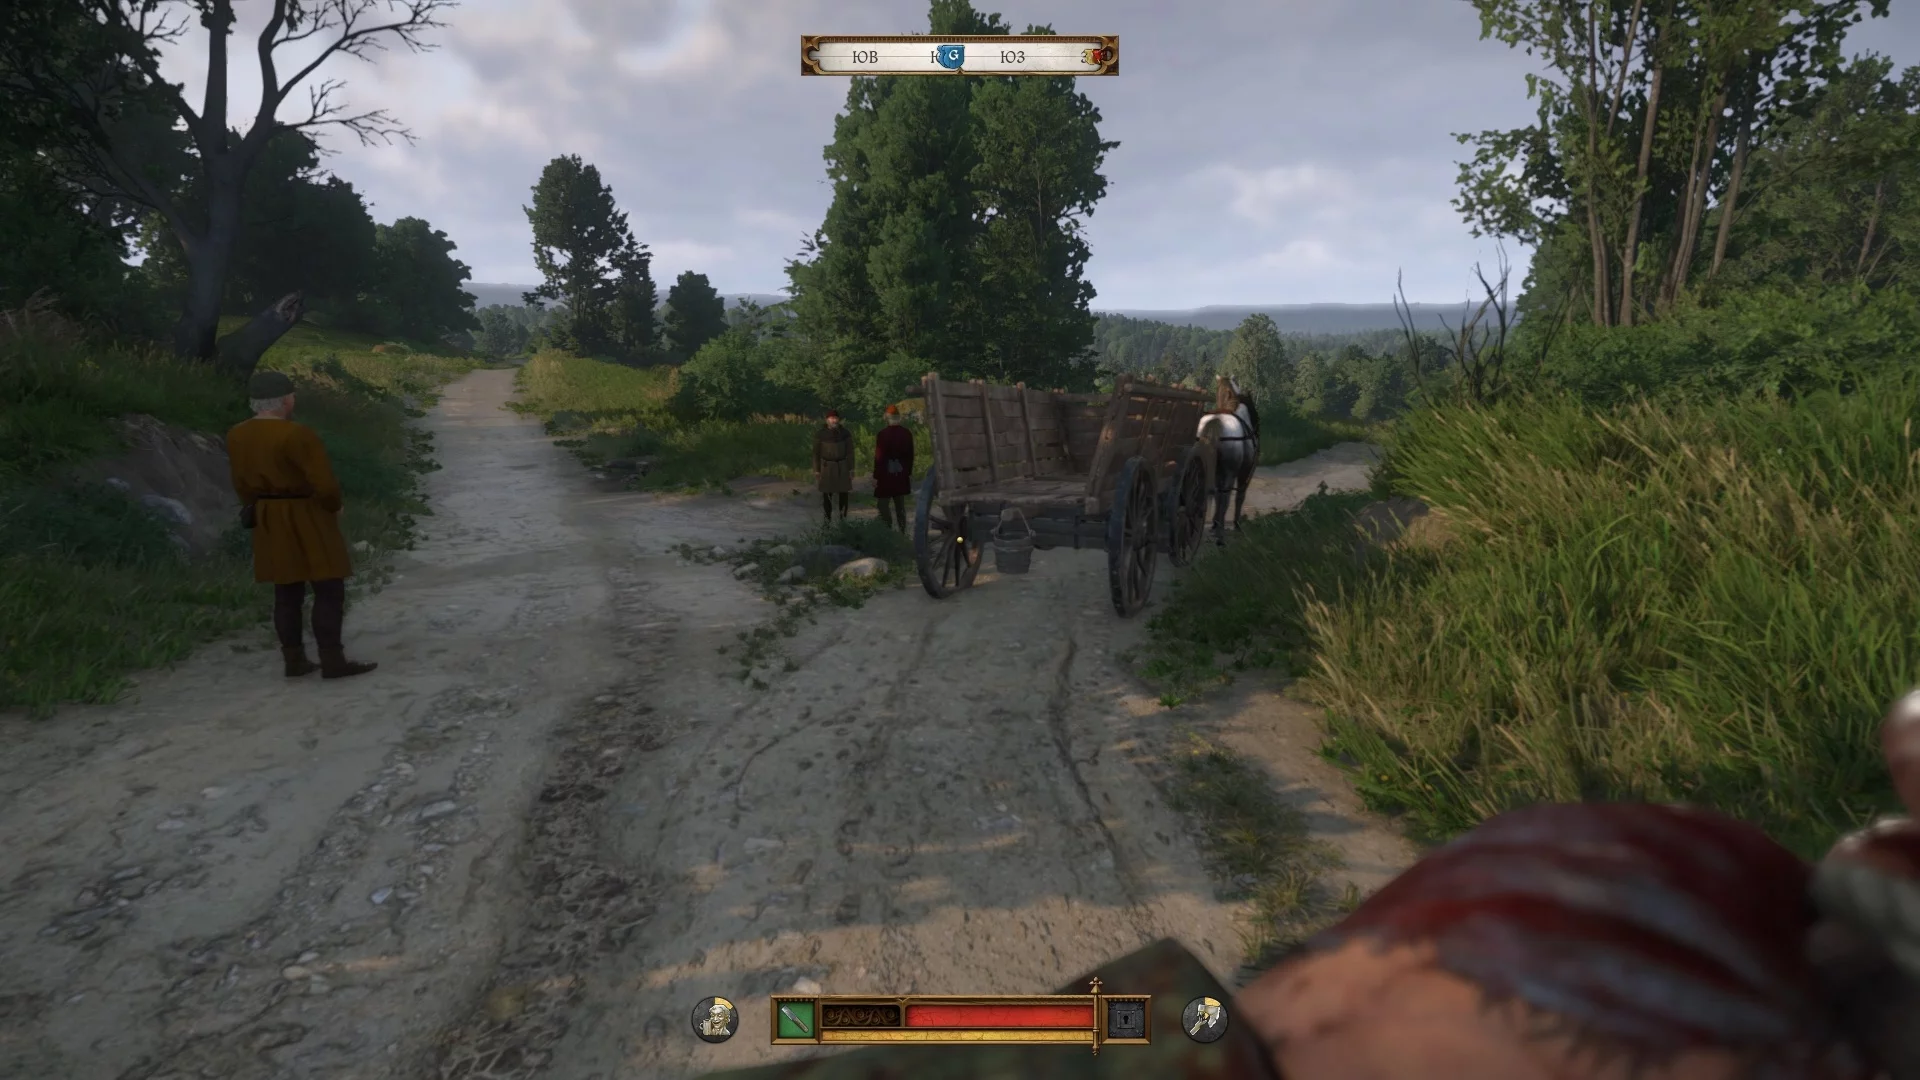
You will have to pass a skill check. Otherwise, Ignatz will refuse to continue with you. Killing the poor fellows also makes no sense: the gravedigger will be angry that he now has to drag the bodies of these laborers as well.
Save beforehand. Choose the most developed skill to pass the check. If unsuccessful, load the last save and try selecting a different option.

Remove the Carcasses from the Farm. Find the Source of Contamination
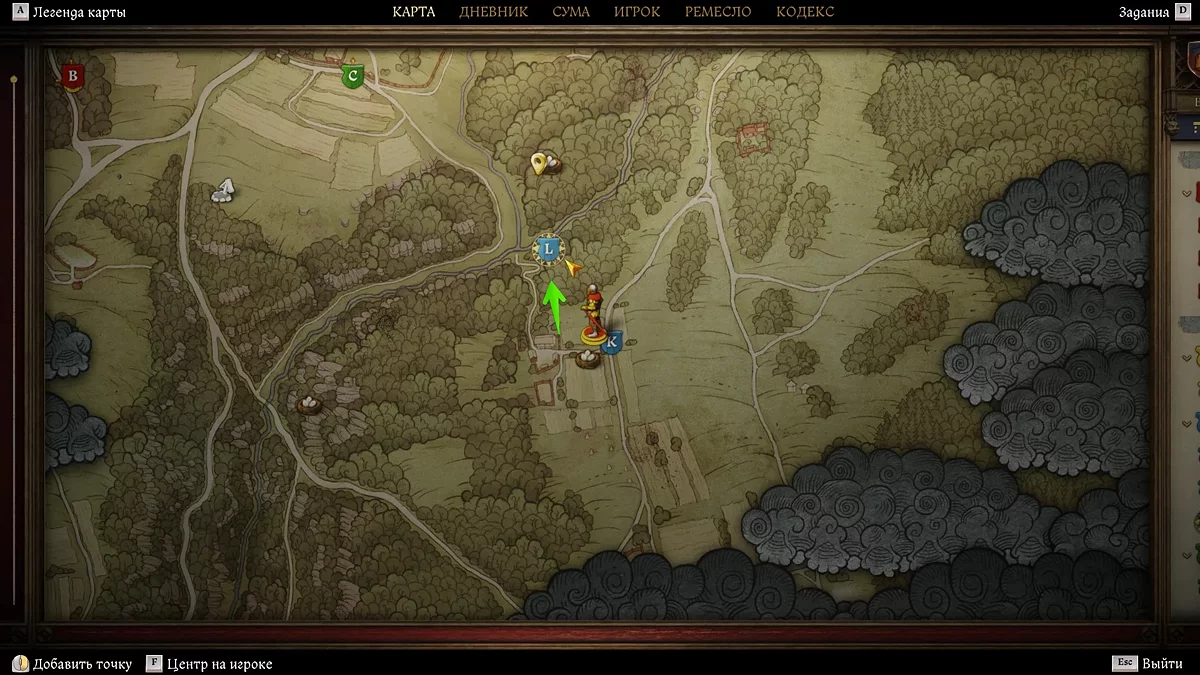
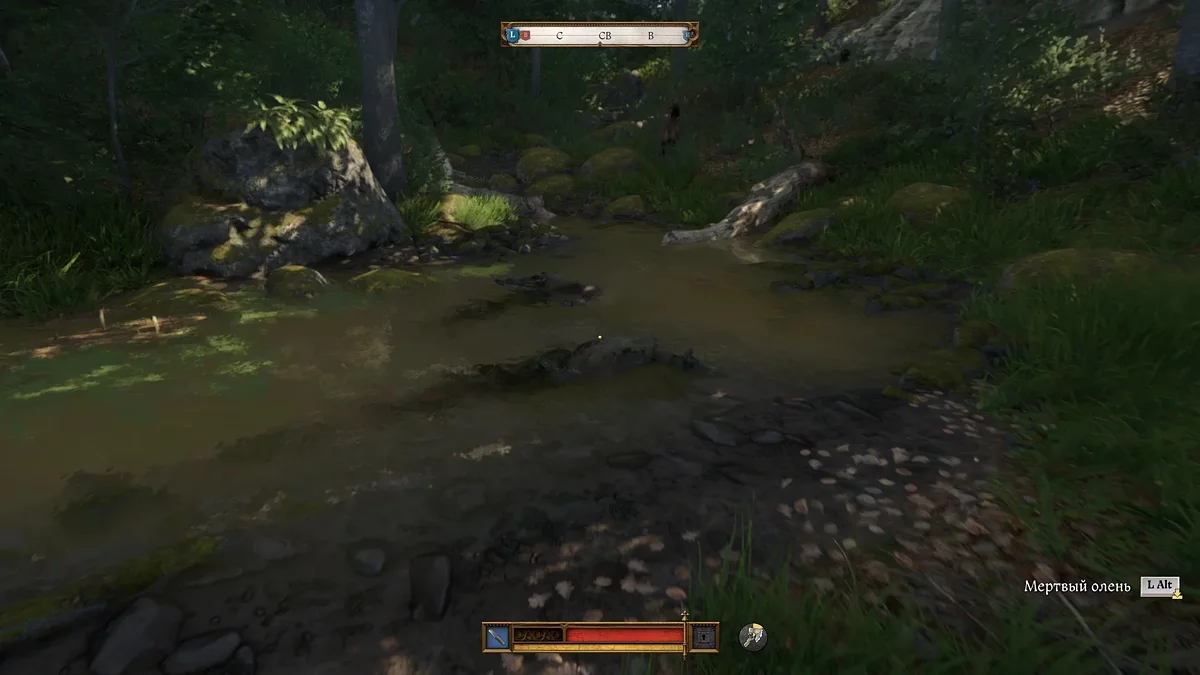
On the way, the gravedigger will tell a story about what happened to the pigs at the next farm, where you are heading now. You don't have to respond to him, as there is no correct answer here. Upon arrival, load the pig carcasses onto the cart and proceed north from the farm to the stream. Follow upstream and inspect the two deer carcasses. Return to Ignatz and confirm his suspicions about the poisoning.
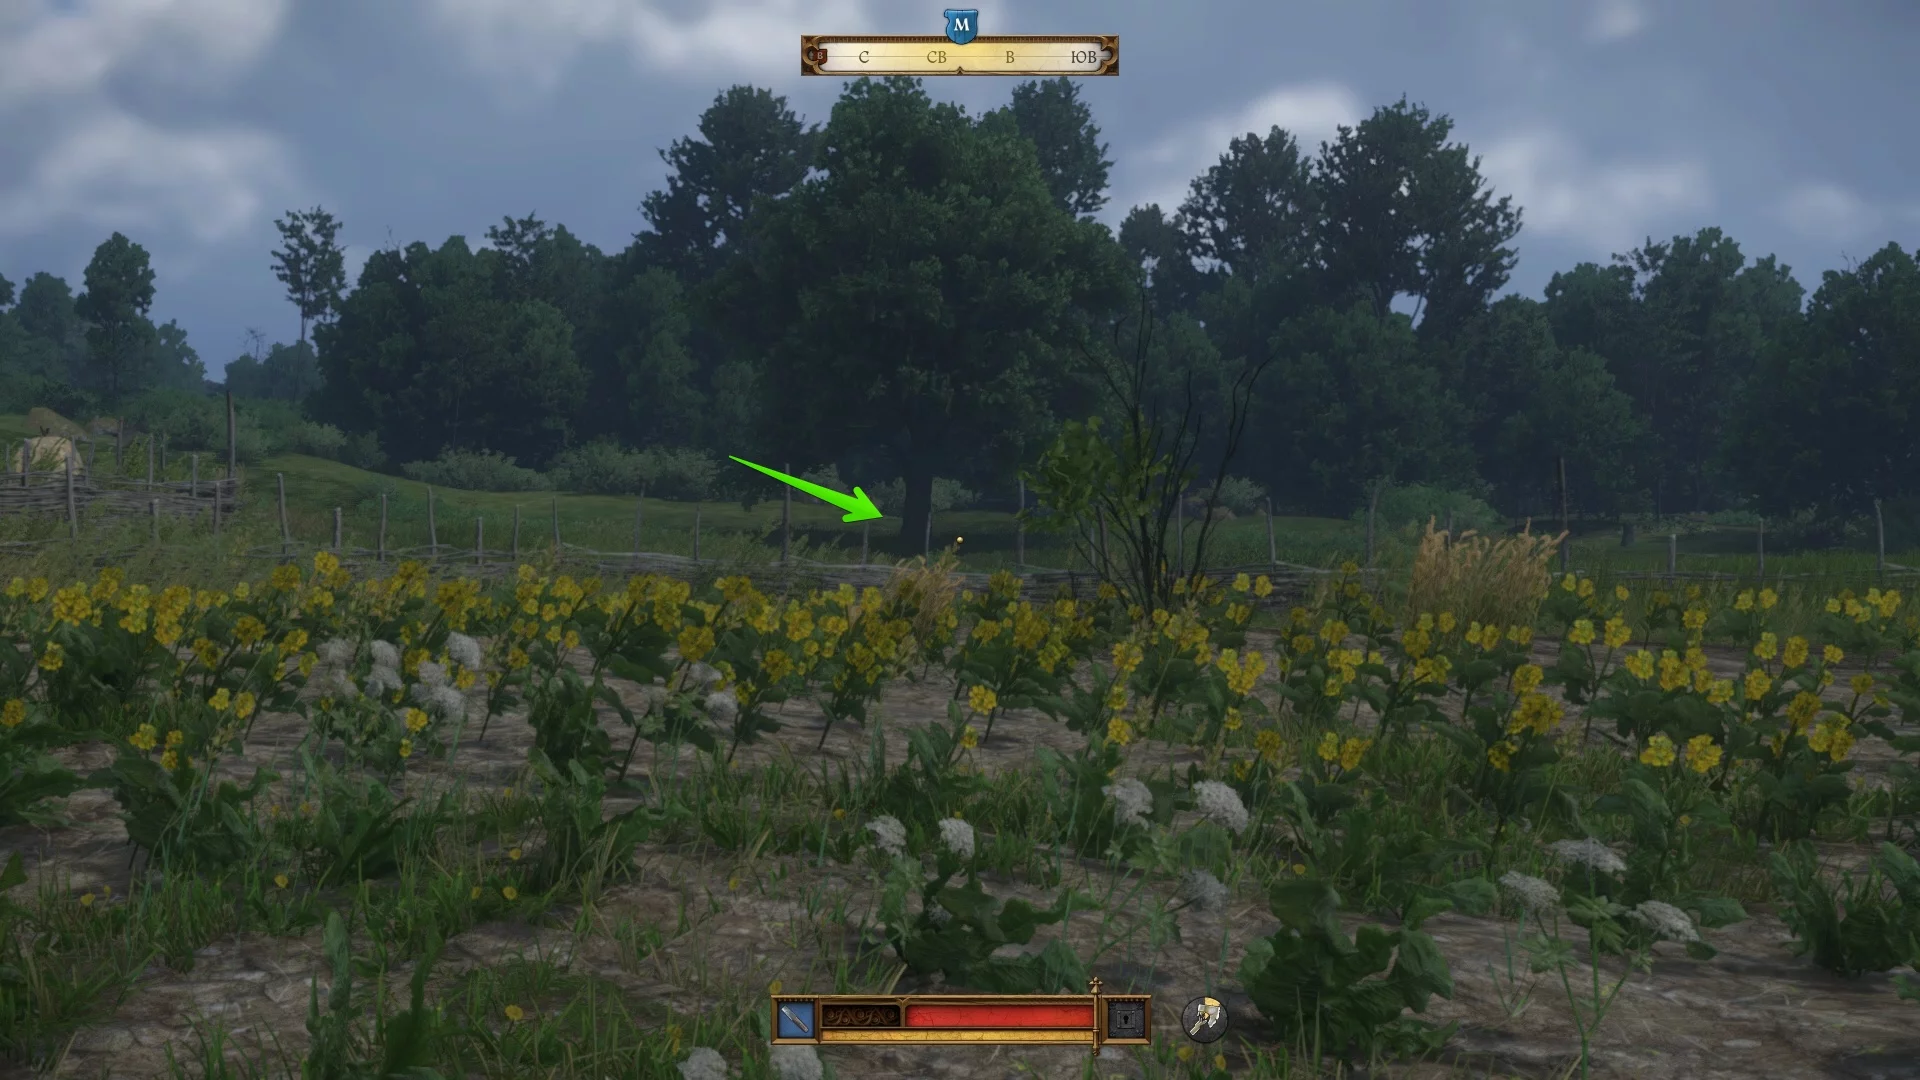
Take Care of the Greengrocer's Dog
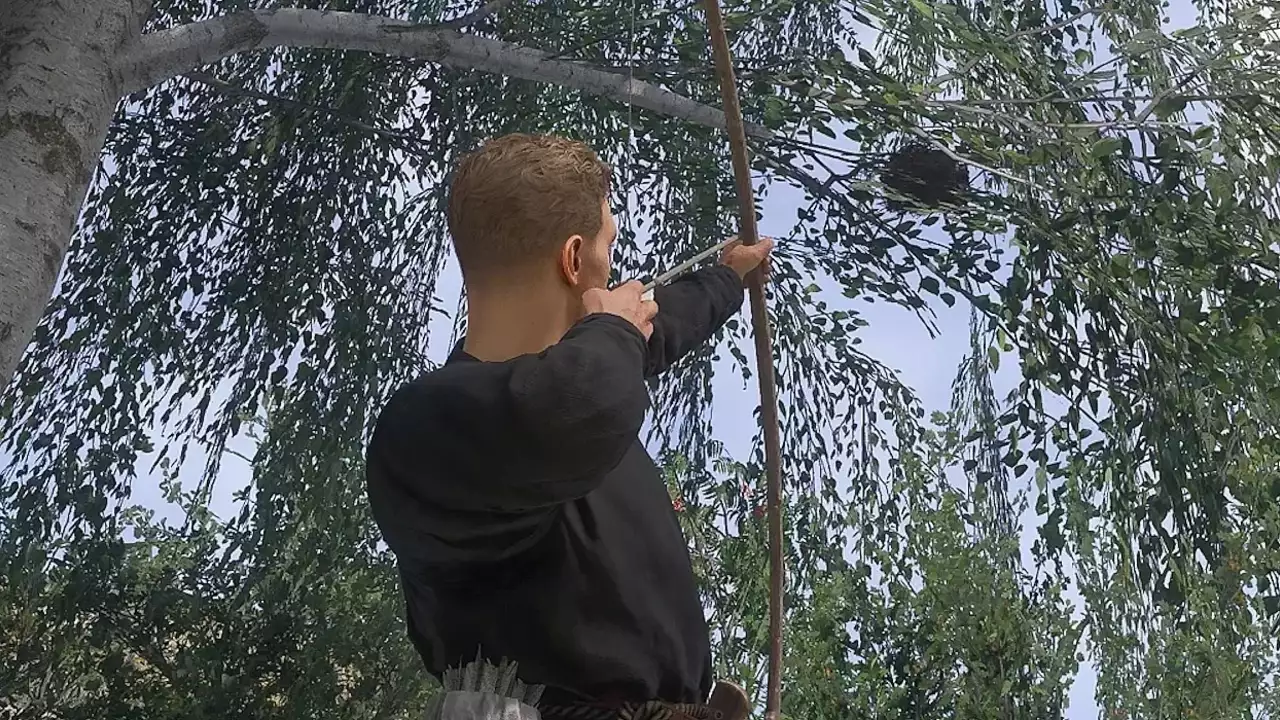
After dismounting, run towards the marker to the doghouse. But you won't find a dog here. Go around the doghouse from the other side and walk a bit forward across the field to a large tree on the horizon. Under it, there will be a woman with the animal.
Tell her you don't want to kill the dog and return to the gravedigger. Say that the deed is done, and then that you let the dog go (lying is not advisable, as it will lead to a negative outcome). Ignatz will scold Henry but will instruct him to get into the cart.
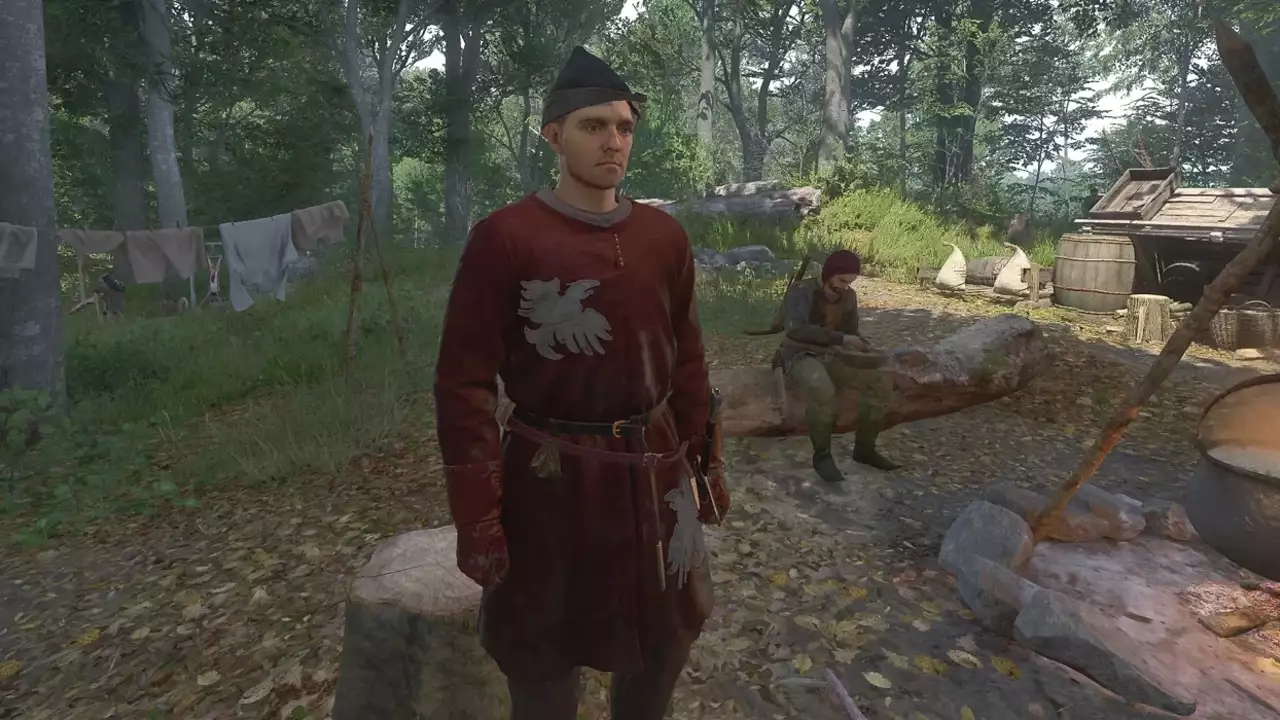
After a short conversation with the gravedigger, you will receive the skinner's gloves. All that remains is to taste the saltpeter and return to the miller with a report. As a reward, you will receive 85 groschen and the book "On Soft Cat Paws II", as well as access to the final mission in the chain — Opus Magnum.
Outros guias
- Kingdom Come Deliverance 2: O Guia do Relicário
- Kingdom Come Deliverance 2: Tu és apenas pó Guia
- Kingdom Come Deliverance 2: Um Guia para uma Situação Complicada
- Kingdom Come Deliverance 2: Post Scriptum Guia
- Reino Vindo Libertação 2: Otimização e Melhores Configurações Gráficas
- Kingdom Come Deliverance 2: Guia de Martelo e Tenaz
- Kingdom Come Deliverance 2: O Guia de The Spark
- Brushes with Death DLC em Kingdom Come: Deliverance 2 — Como Começar e Completar Todas as Quests
- Reino Vindo Libertação 2: Guia de Busca por Justiça
- Reino Vindo Libertação 2: Guia de Saques de Guerra
-
![]() Kingdom Come Deliverance 2: Um Guia para uma Situação Complicada
Kingdom Come Deliverance 2: Um Guia para uma Situação Complicada -
![]() Brushes with Death DLC em Kingdom Come: Deliverance 2 — Como Começar e Completar Todas as Quests
Brushes with Death DLC em Kingdom Come: Deliverance 2 — Como Começar e Completar Todas as Quests -
![]() Reino Vindo: Libertação 2 — Guia da Missão Chiaroscuro
Reino Vindo: Libertação 2 — Guia da Missão Chiaroscuro -
![]() Reino Vindo: Libertação 2 — Guia da Missão Fonte de Inspiração
Reino Vindo: Libertação 2 — Guia da Missão Fonte de Inspiração -
![]() Guia de Alquimia de Kingdom Come Deliverance 2: Domine a Preparação de Poções
Guia de Alquimia de Kingdom Come Deliverance 2: Domine a Preparação de Poções -
![]() Kingdom Come Deliverance 2: Guia de Todos os Justos
Kingdom Come Deliverance 2: Guia de Todos os Justos -
![]() Kingdom Come Deliverance 2: Guia do Pássaro de Prey
Kingdom Come Deliverance 2: Guia do Pássaro de Prey -
![]() Reino Vindo Libertação 2: O Guia do Código dos Ladrões
Reino Vindo Libertação 2: O Guia do Código dos Ladrões -
![]() Kingdom Come Deliverance 2: Guia de Setas
Kingdom Come Deliverance 2: Guia de Setas -
![]() Reino Vindo Libertação 2: Como Encontrar o Santo Graal
Reino Vindo Libertação 2: Como Encontrar o Santo Graal -
![]() Reino Chegado Libertação 2: X Marca o Local Guia
Reino Chegado Libertação 2: X Marca o Local Guia