
 Vladislav Sham
Kingdom Come: Deliverance 2 oferece aos jogadores a chance de ajudar os camponeses em sua luta contra o domínio do Rei Sigismundo. Neste guia, detalhamos como completar esta missão envolvente.
Como Começar a Missão A Revolta dos Camponeses
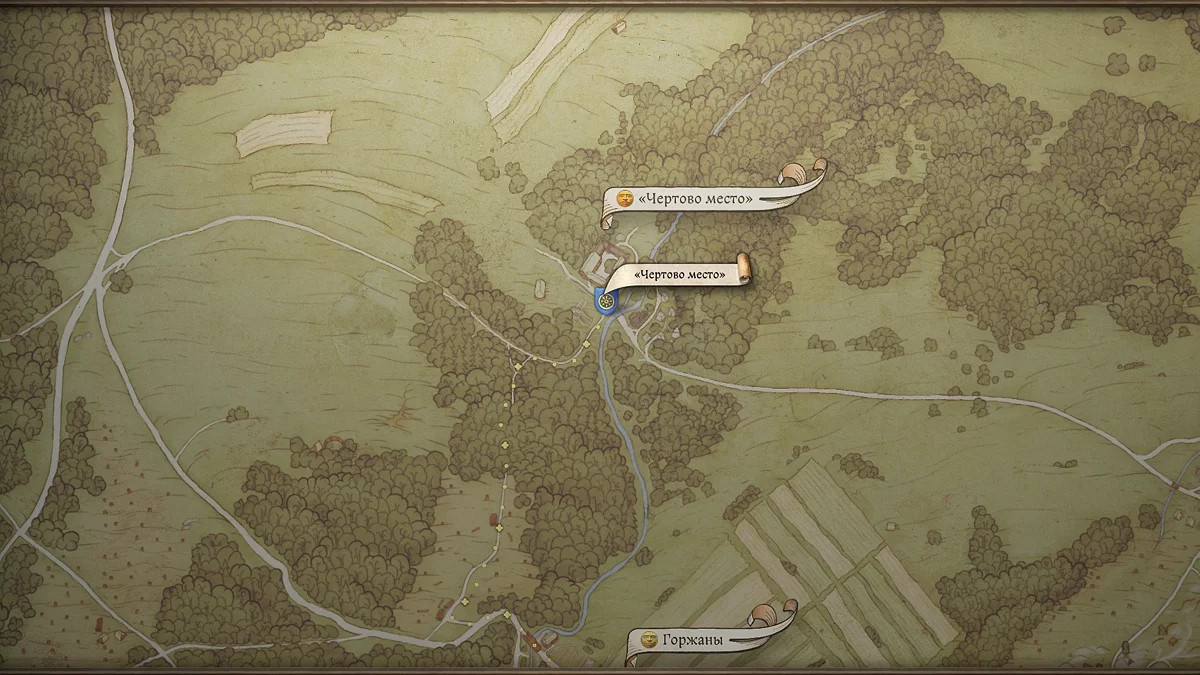
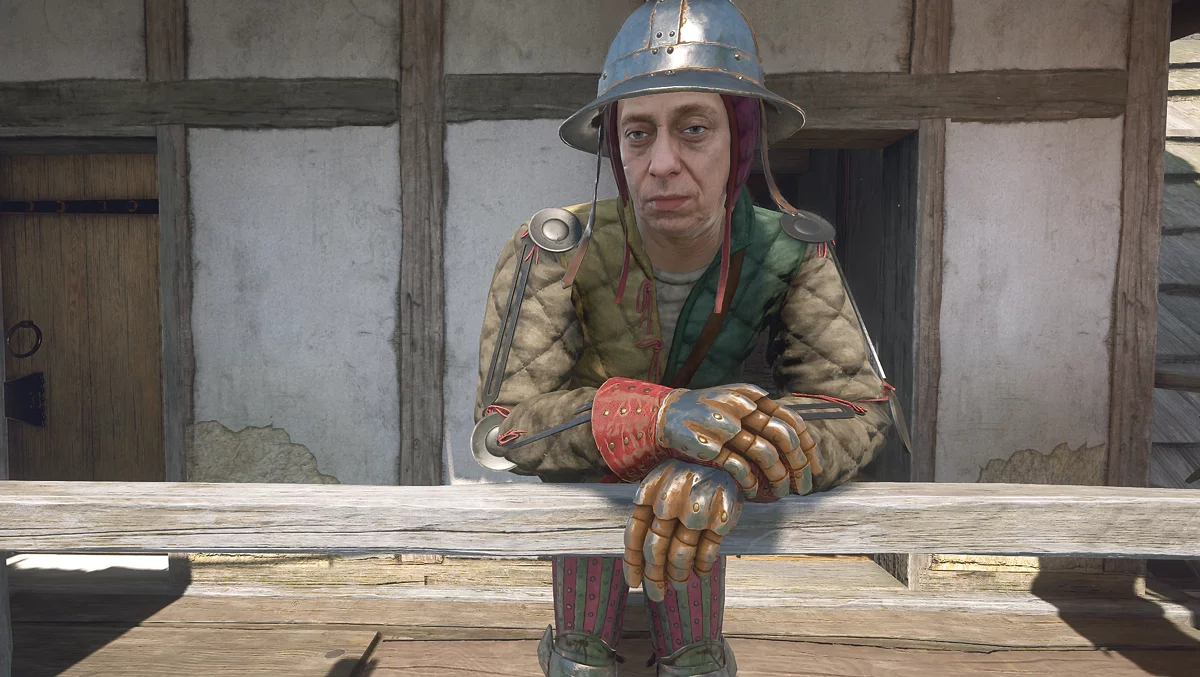
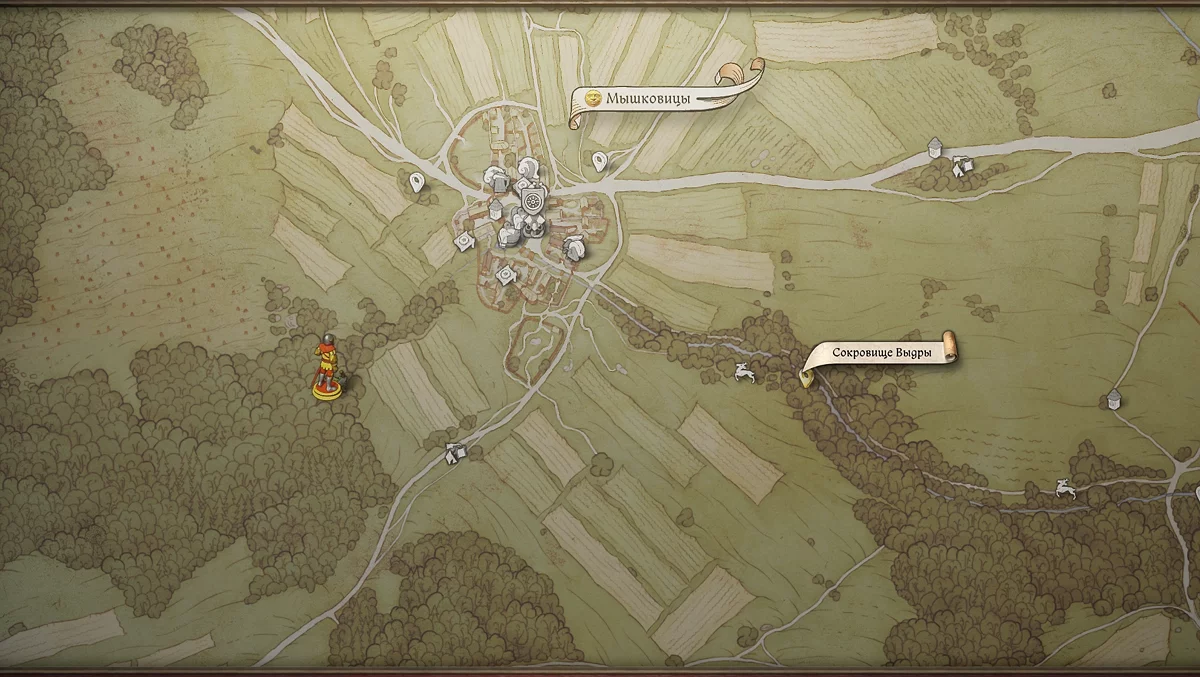
Na região de Kuttenberg, na taverna "Lugar do Diabo", pergunte a Kubenka sobre os camponeses que se levantaram contra Sigismundo. O homem lhe dirá que os rebeldes devem ser procurados na vila de Myshkovitsy, e a senha deles é "A raposa no galinheiro."
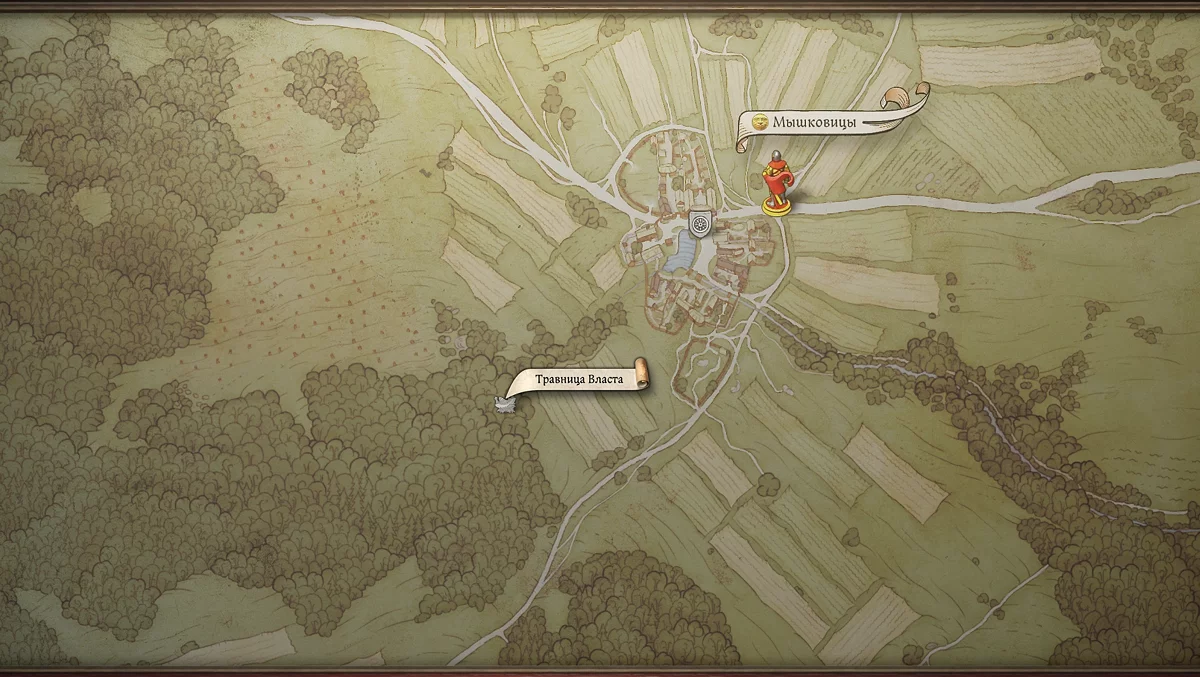
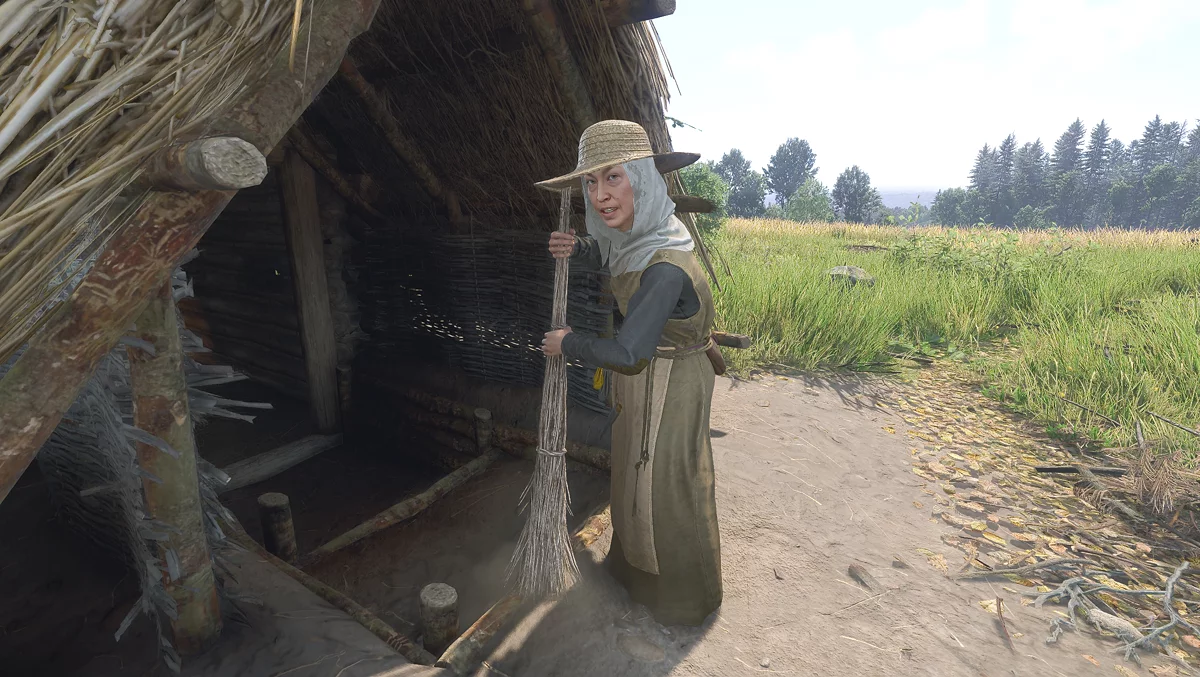
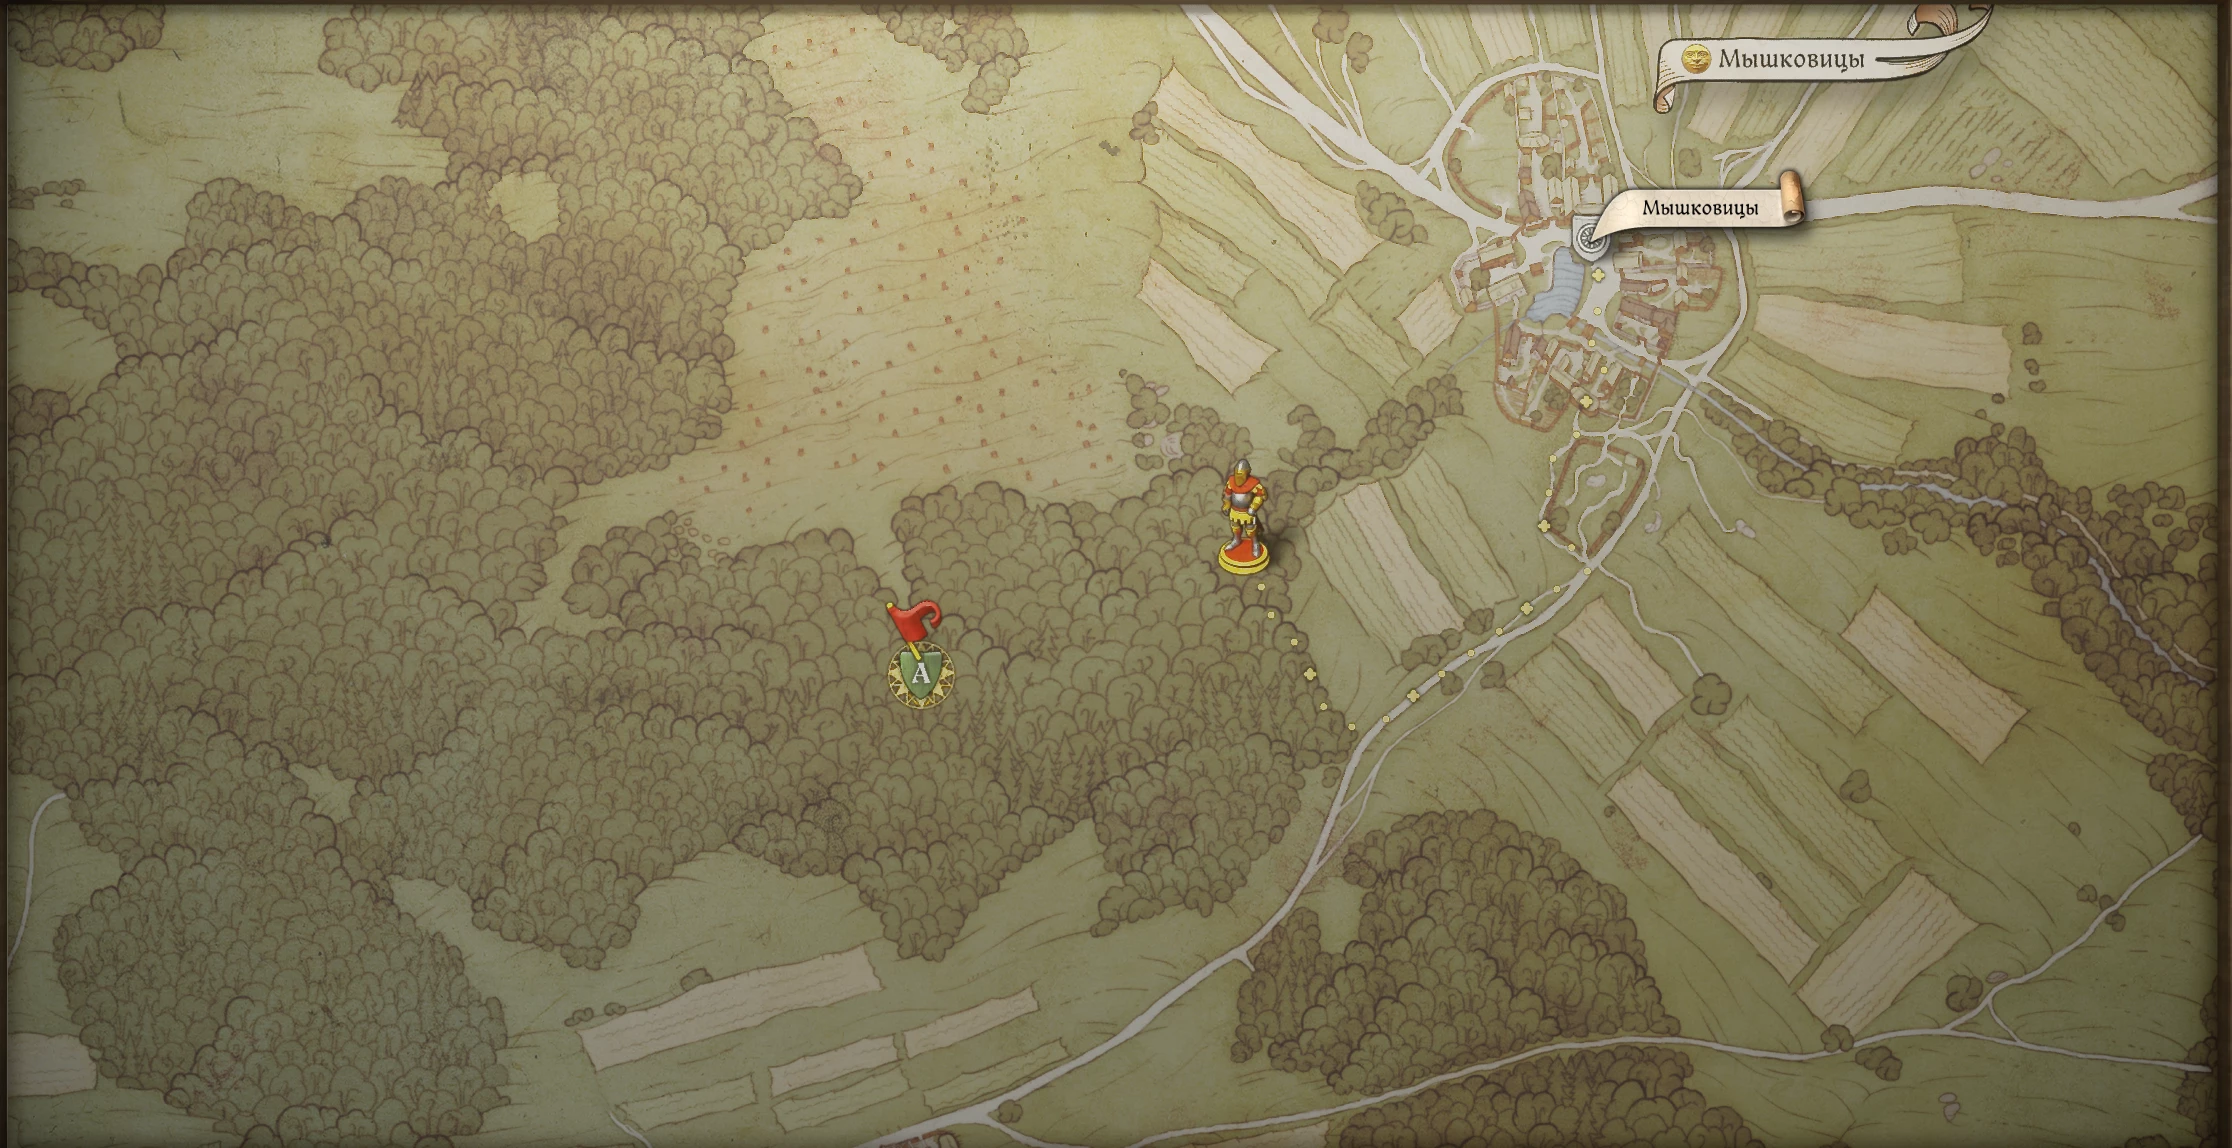
A sudoeste da vila de Myshkovitsy, além dos campos, encontre o herbalista. Diga a Vlasta a senha dos rebeldes. A velha lhe contará sobre os rebeldes e pedirá ajuda. Concorde em entregar suprimentos ao acampamento dos rebeldes, e a missão começará.
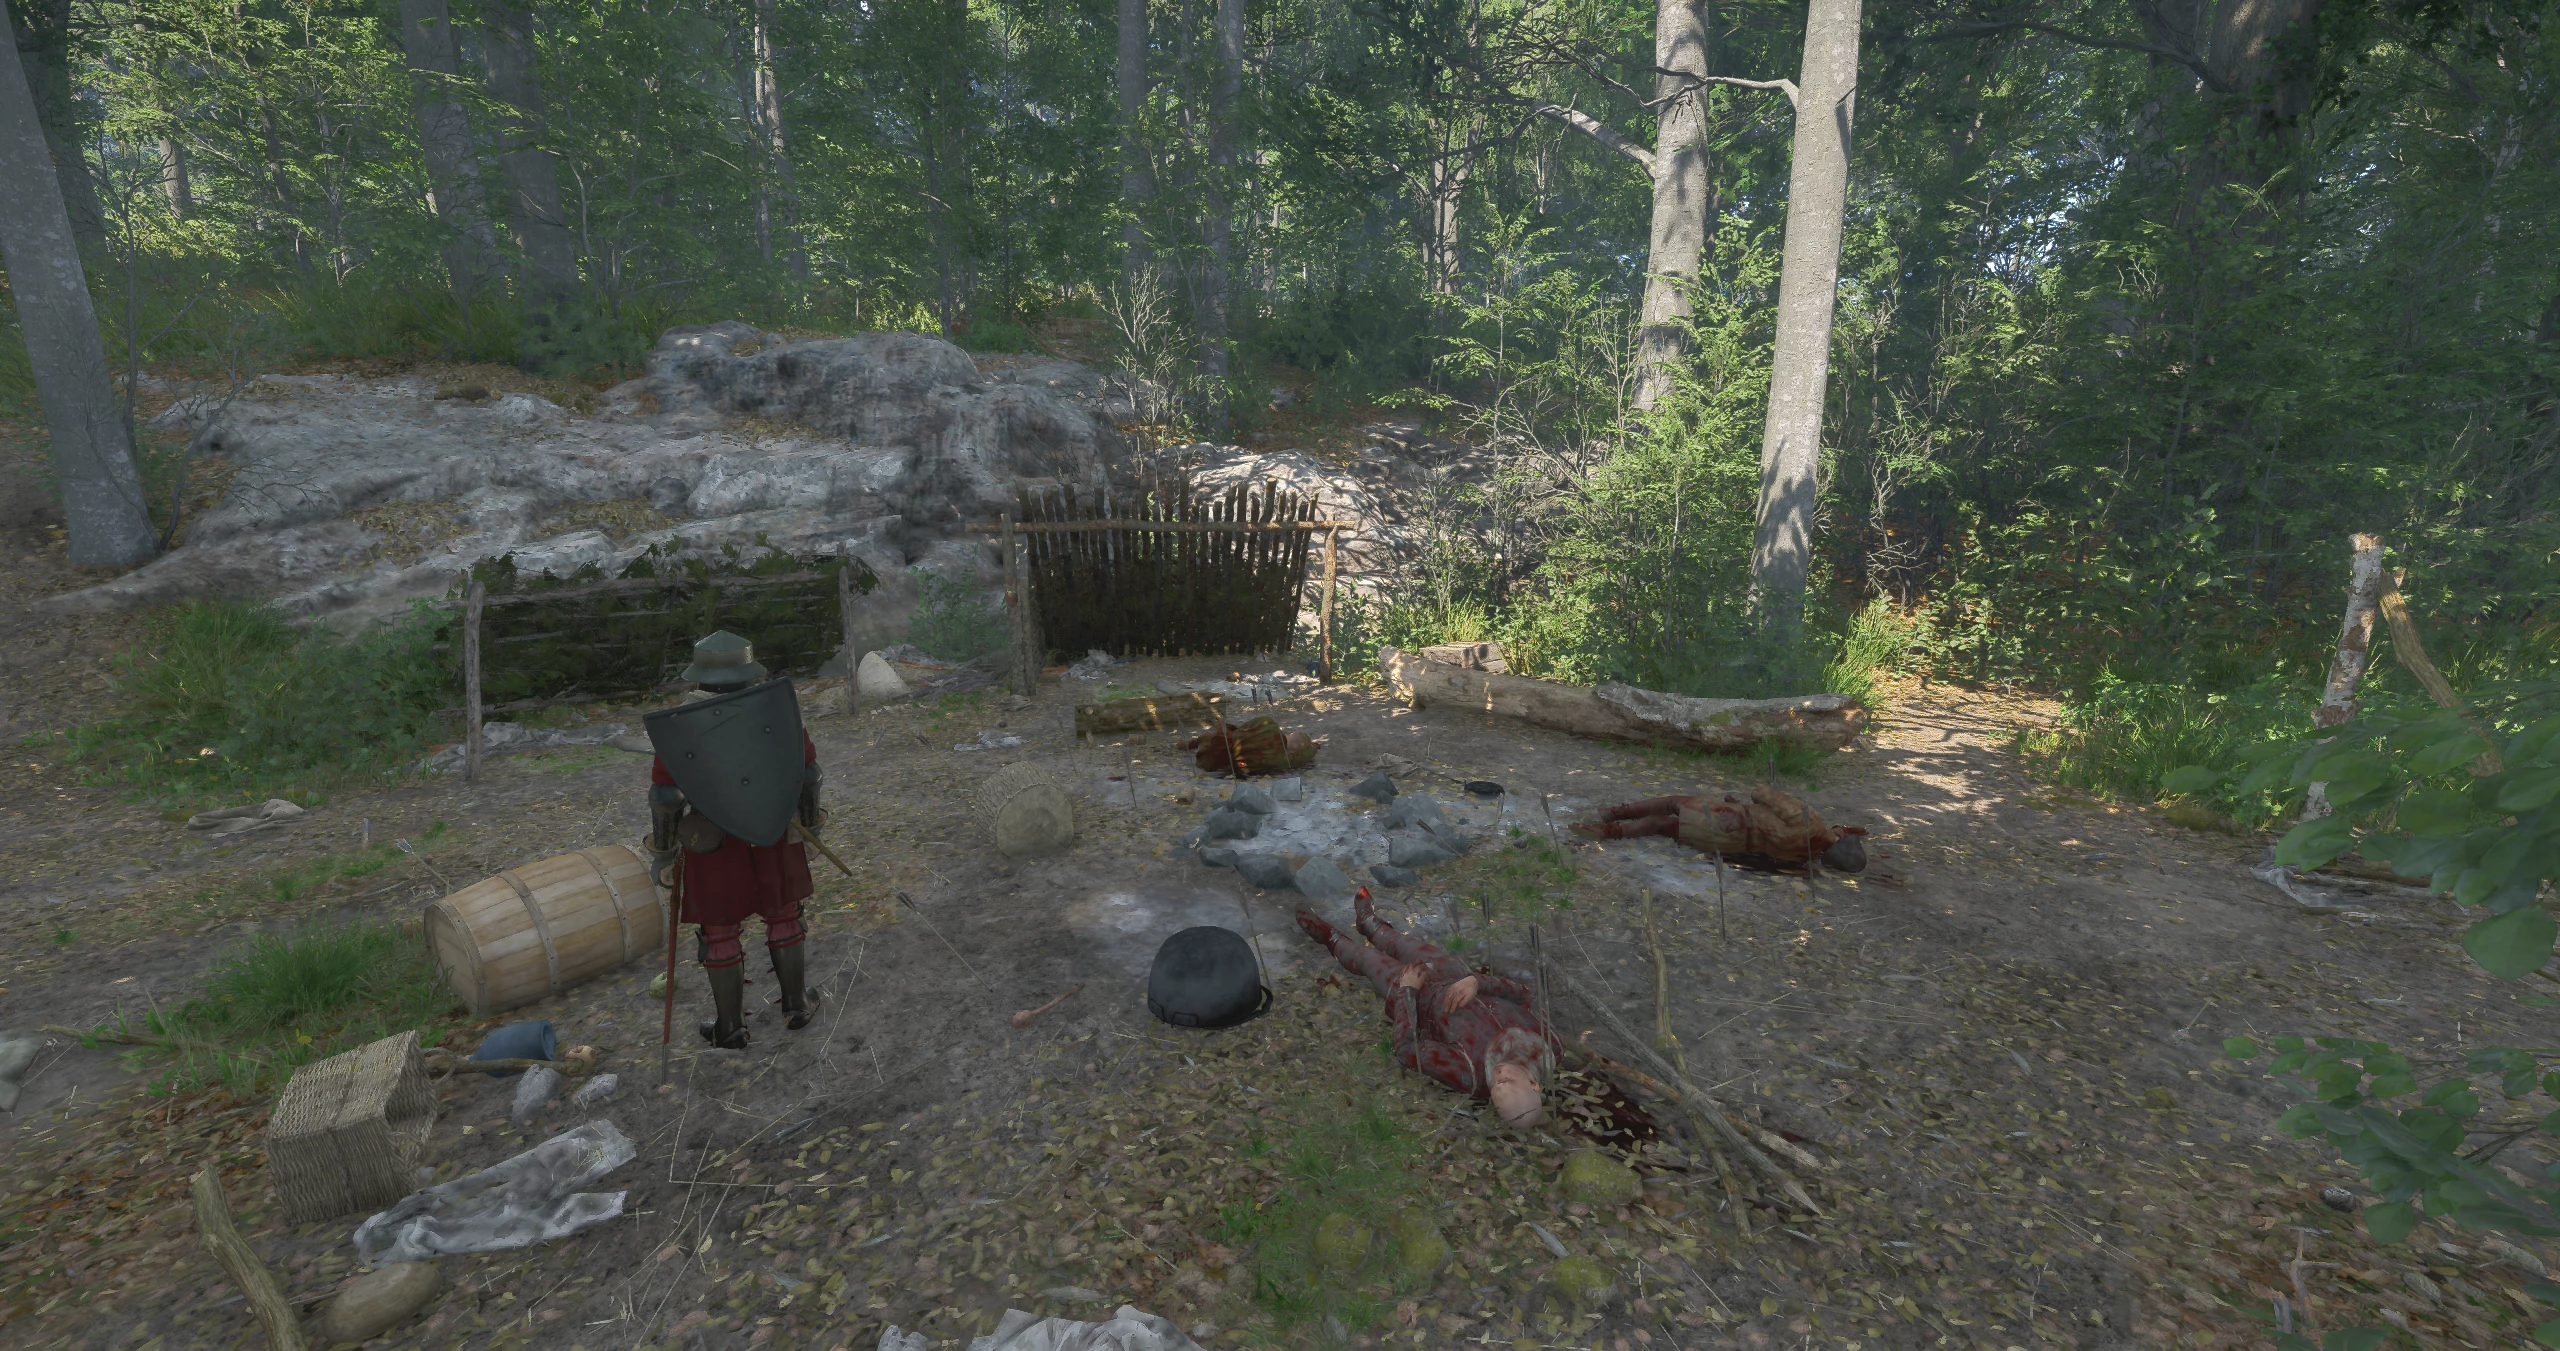
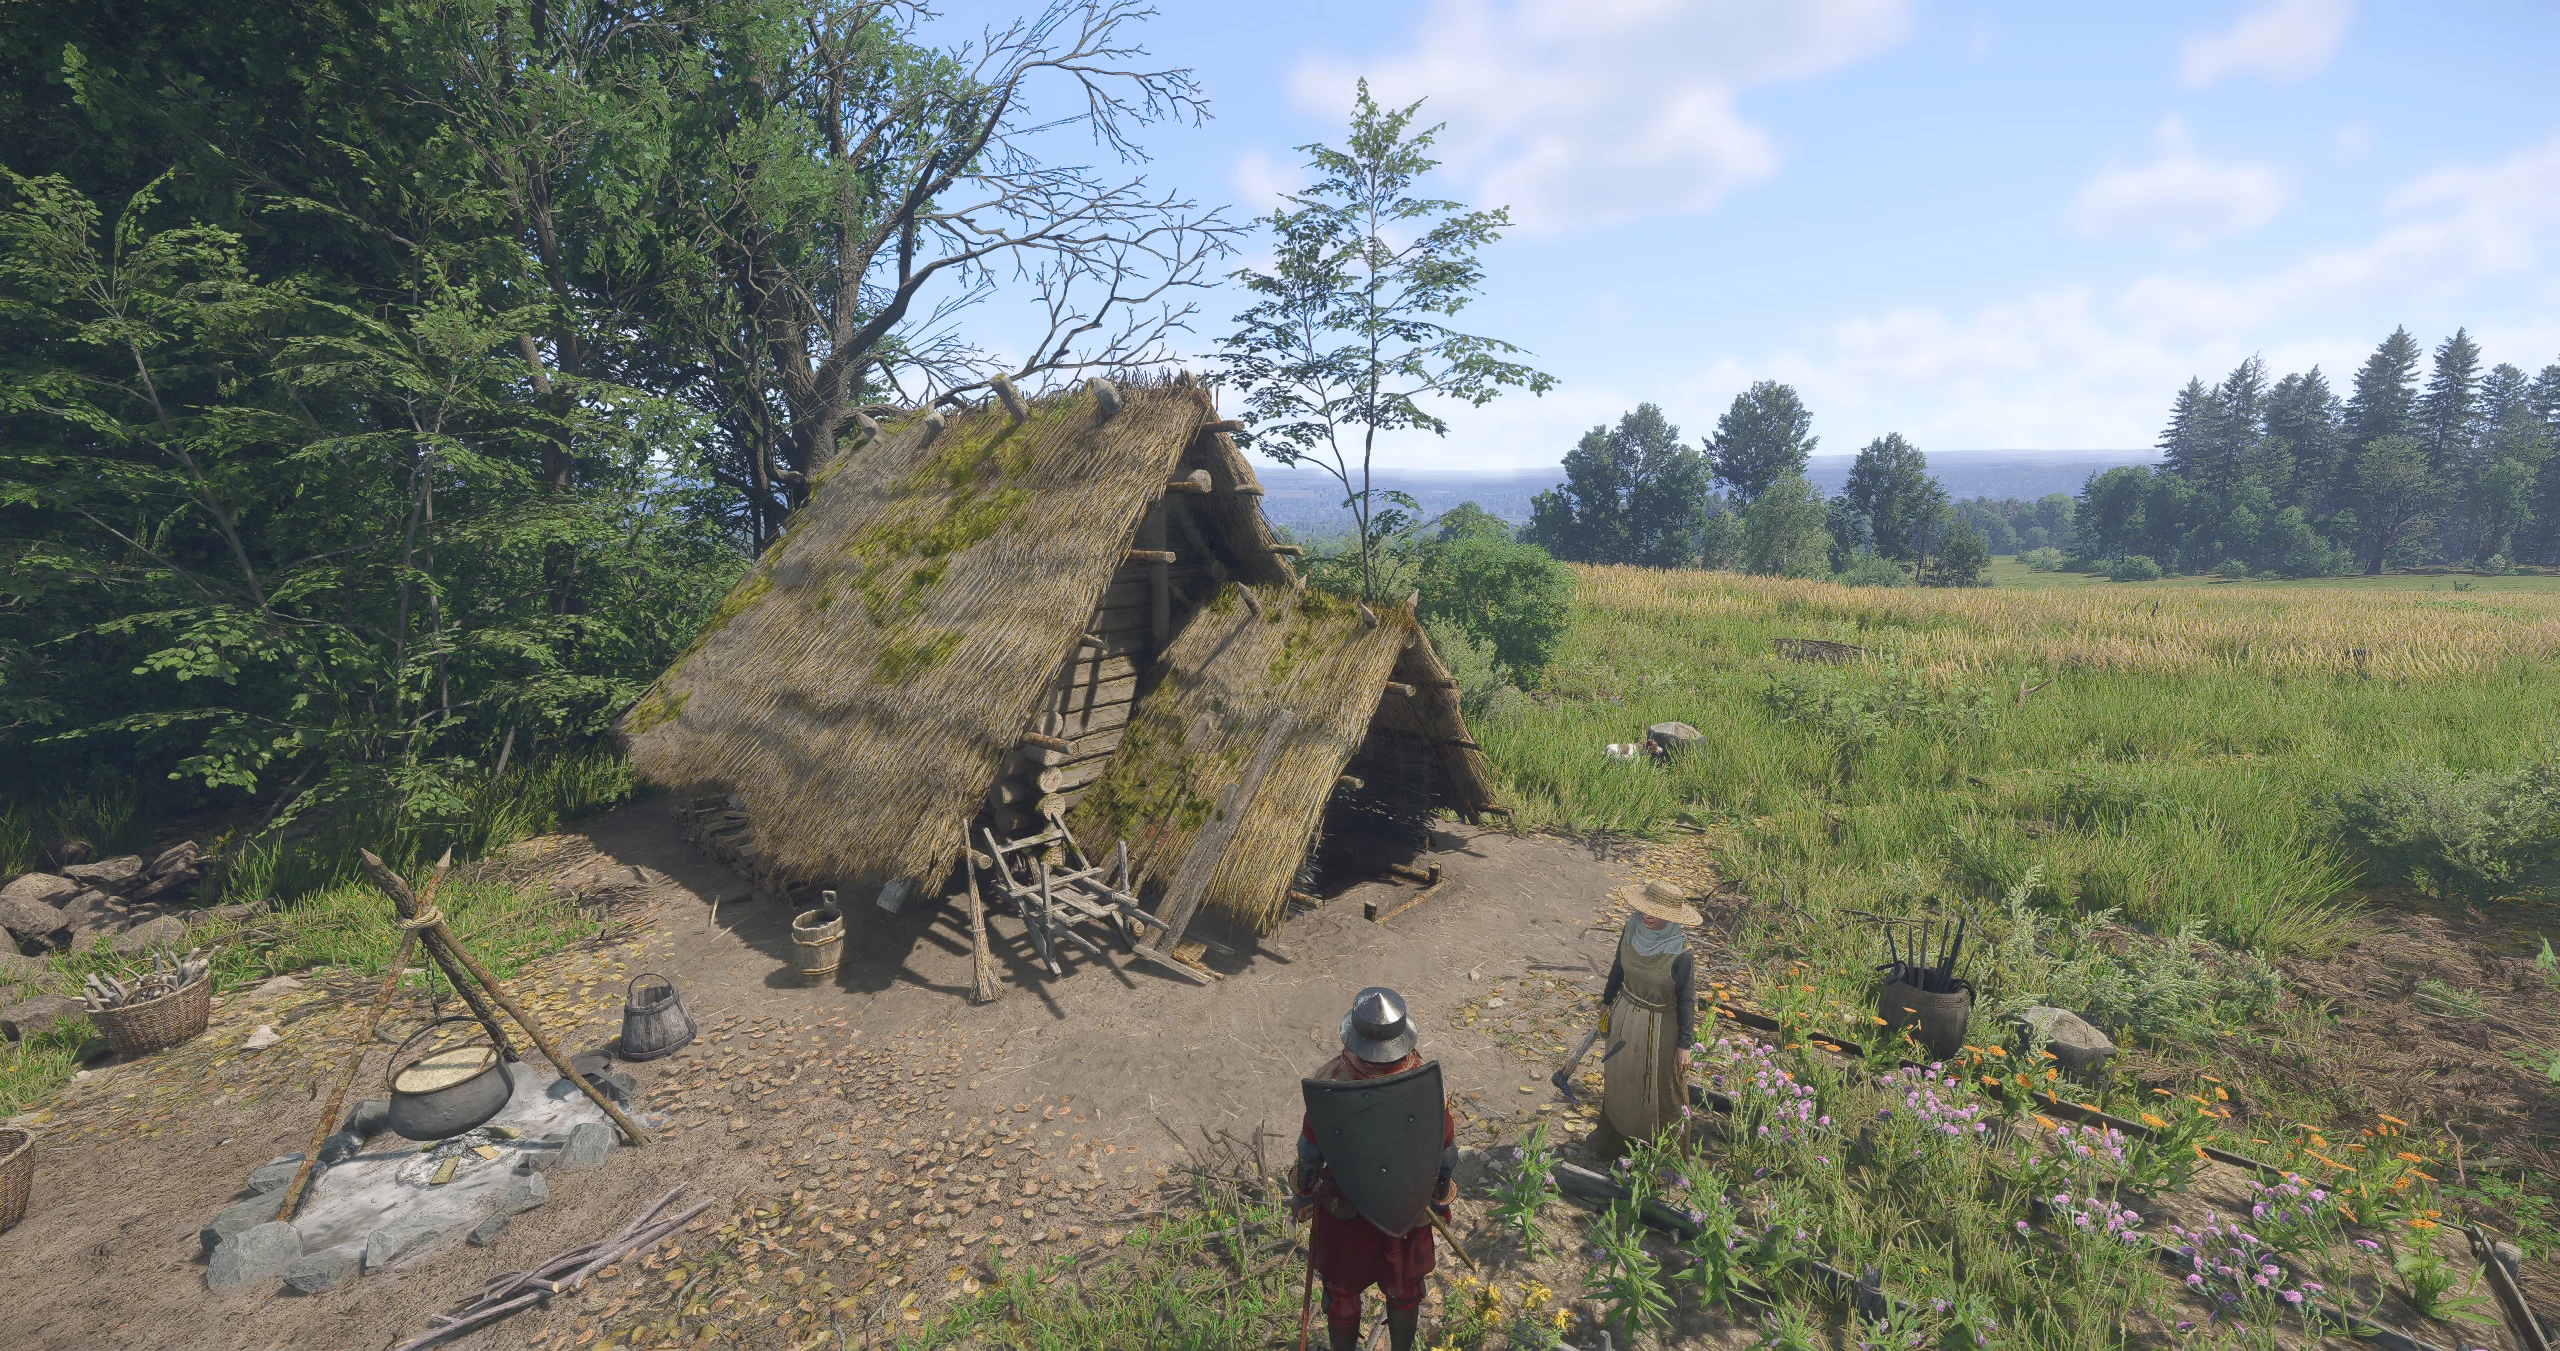
Encontre o Acampamento dos Rebeldes
Vá para o oeste na floresta a partir do herbalista.
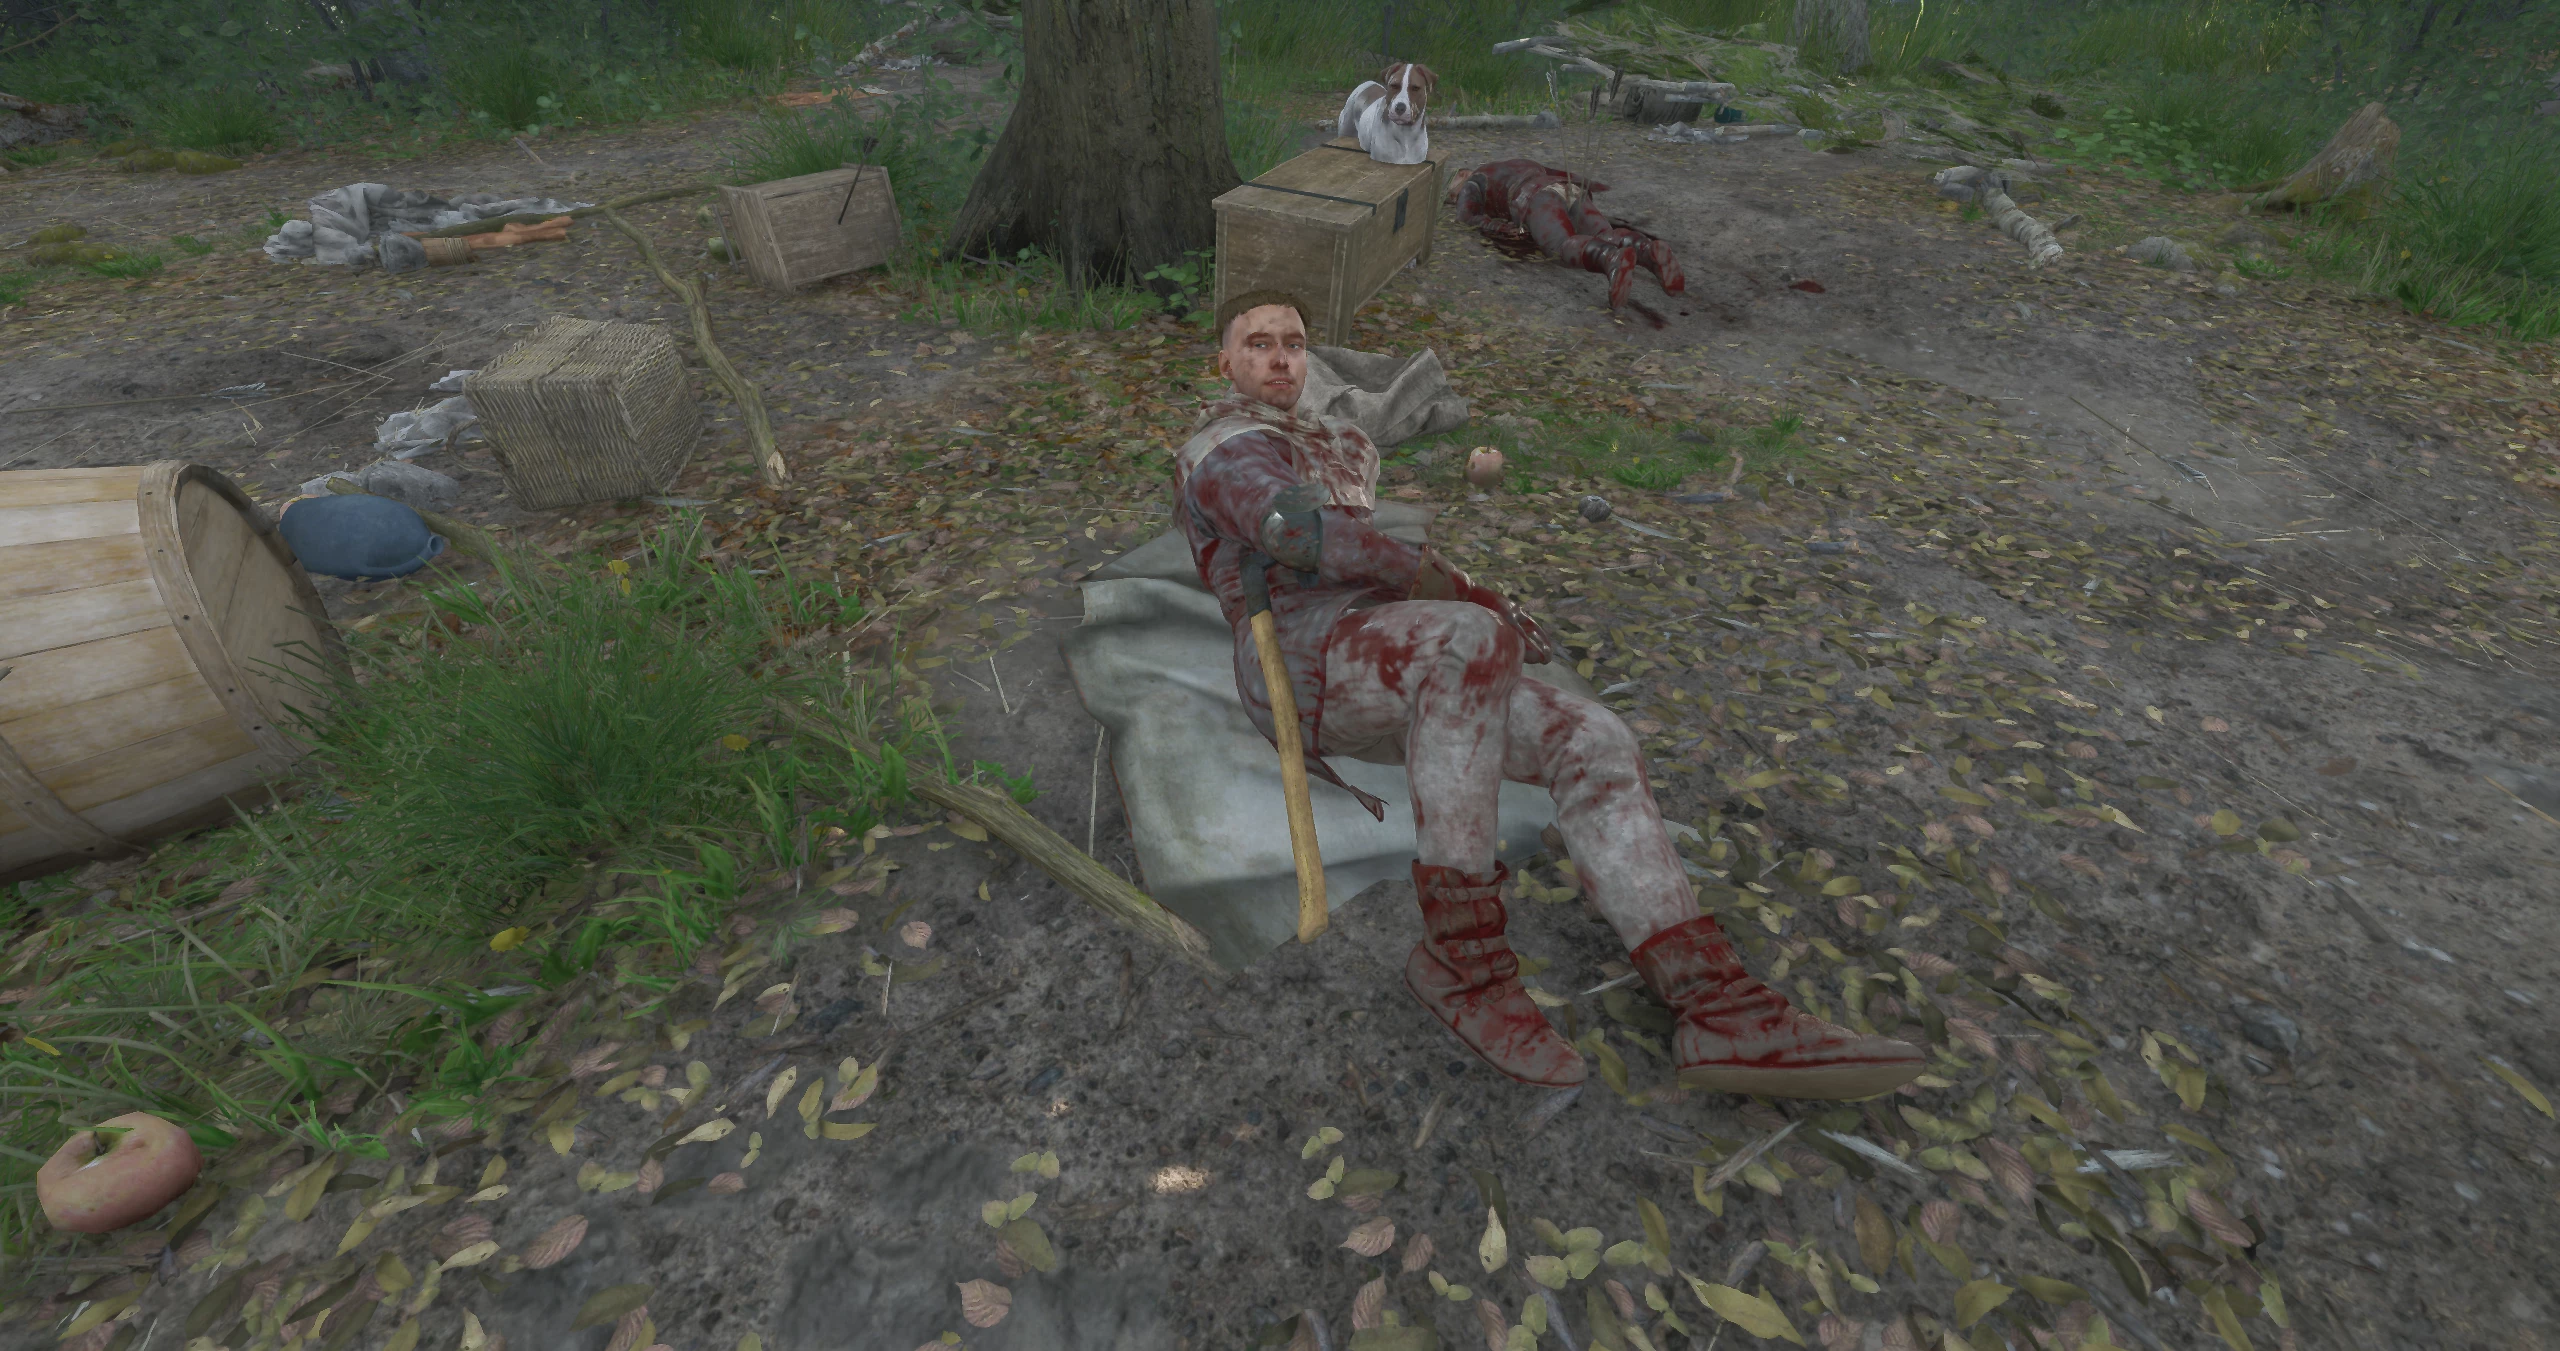
Fale com o Ferido
Encontre o rebelde ferido perto de uma árvore no centro do acampamento.
Cure a Lontra Ferida
Passe em um teste de habilidade "Sobrevivência" para tratar a ferida do aldeão.
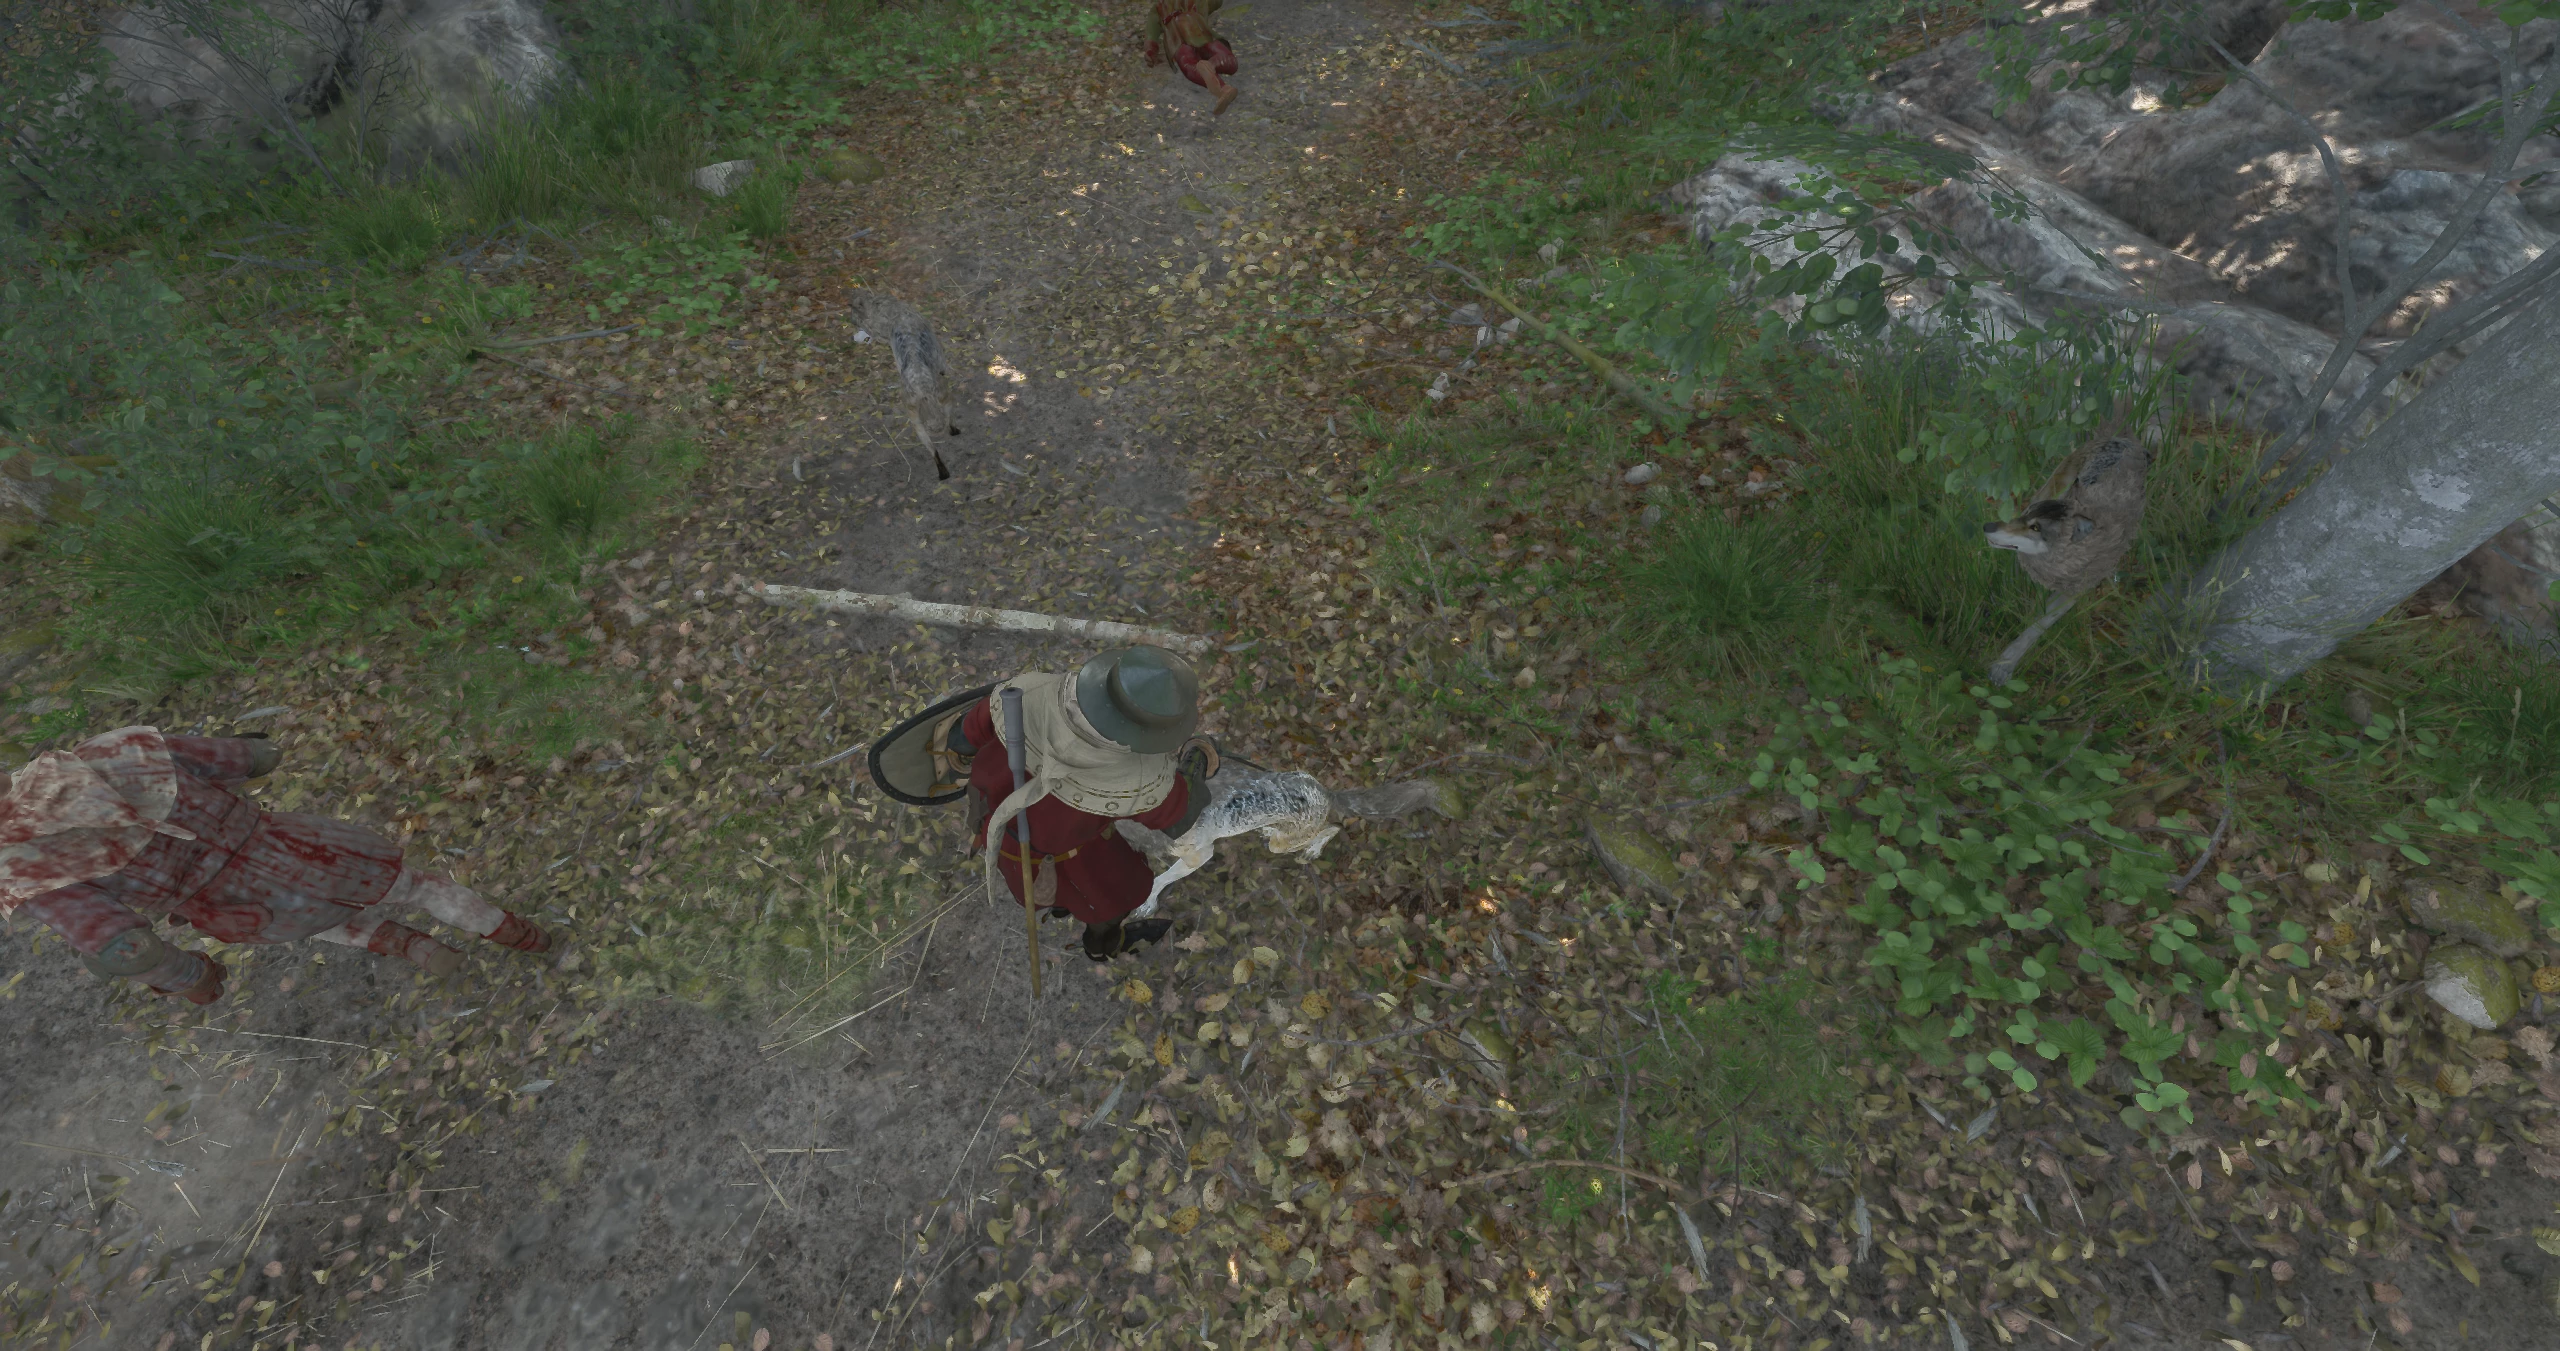
Ajude Otter a Espantar os Lobos
Ajude o jovem a se defender dos lobos.
Converse com Otter
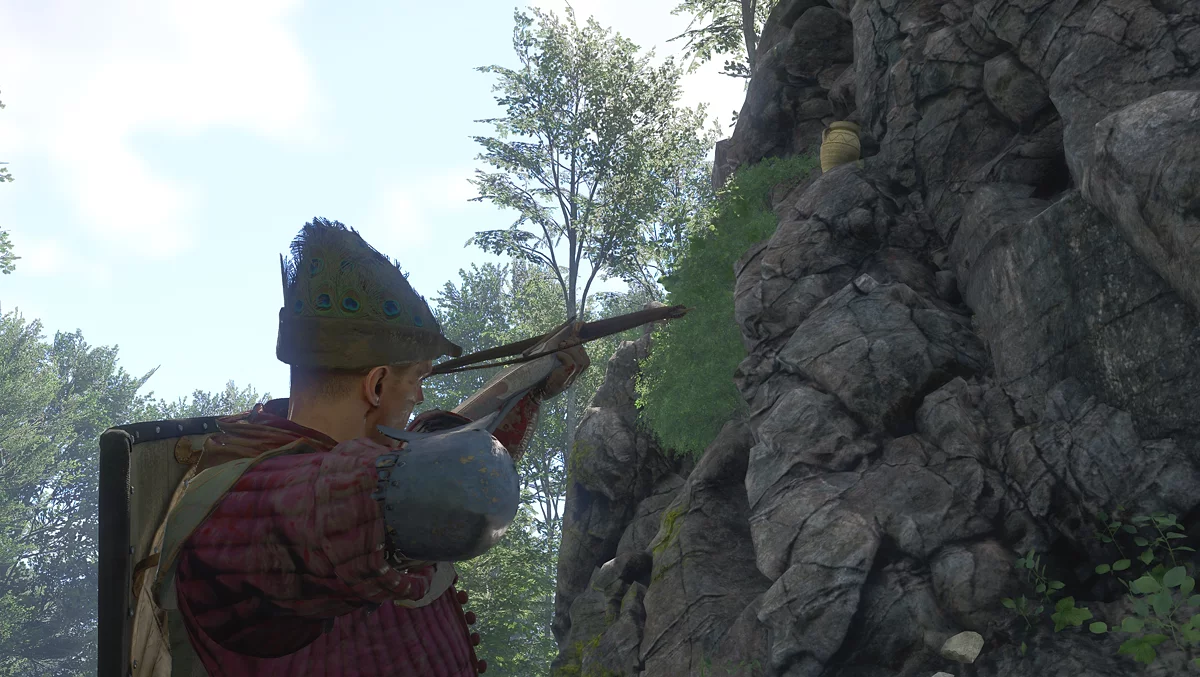
O rebelde agradecerá pela sua ajuda e lhe contará sobre um esconderijo de prata em um jarro amarelo nas rochas ao sudeste, ao longo do rio da vila de Myshkovitsy. Quebre o pote com armas de longo alcance e pegue o saco de moedas.
Conte a Vlasta o que Aconteceu
Conte à herbalista sobre o que aconteceu com o acampamento dos rebeldes. A velha, além de palavras de gratidão, lhe dará algumas poções fortes.
Walkthrough of Side Quests in Kingdom Come: Deliverance 2
- Kingdom Come Deliverance 2: Mutt Walkthrough (How to Find the Dog)
- Kingdom Come Deliverance 2: Lackey Walkthrough
- Kingdom Come Deliverance 2: Bad Blood Walkthrough
- Kingdom Come Deliverance 2: Materia Prima Walkthrough
- Kingdom Come Deliverance 2: Forbidden Fruit Walkthrough
- Kingdom Come: Deliverance 2: Opus Magnum Walkthrough
- How to Find Armor by Maps in Kingdom Come Deliverance 2: The Lion's Crest Guide
- Kingdom Come Deliverance 2: Invaders Walkthrough
- Kingdom Come Deliverance 2: The Axe from the Lake Walkthrough
- Kingdom Come Deliverance 2: Mice Walkthrough
- Kingdom Come Deliverance 2: The Blacksmith's Son Walkthrough
- Kingdom Come Deliverance 2: The Jaunt Walkthrough
- Kingdom Come Deliverance 2: The Hermit Walkthrough
- Kingdom Come Deliverance 2: Miri Fajta Walkthrough
- Kingdom Come Deliverance 2: The Mouth of Hell Walkthrough
- Kingdom Come Deliverance 2: Bellatores Walkthrough
- Kingdom Come Deliverance 2: Skeleton in the Closet Walkthrough
- Kingdom Come Deliverance 2: Dragon's Lair Walkthrough
- Kingdom Come Deliverance 2: Canker Walkthrough
- Kingdom Come Deliverance 2: Handsome Charlie Walkthrough
- Kingdom Come Deliverance 2: Johnny the Gob Walkthrough
- Kingdom Come Deliverance 2: Casper Walkthrough
- Kingdom Come Deliverance 2: The White Roebuck Walkthrough
- Kingdom Come Deliverance 2: Hush, My Darling Walkthrough
- Kingdom Come Deliverance 2: Absolver Walkthrough
- Kingdom Come Deliverance 2: The Thunderstone Walkthrough
- Kingdom Come Deliverance 2: X Marks the Spot Walkthrough
- Kingdom Come Deliverance 2: Hammer and Tongs Walkthrough
- Kingdom Come Deliverance 2: Yackers 'n' Fash Walkthrough
- Kingdom Come Deliverance 2: Ransom Walkthrough
- Kingdom Come Deliverance 2: The Reliquary Walkthrough
- Kingdom Come Deliverance 2: Thou art but dust Walkthrough
- Kingdom Come Deliverance 2: Striped Tonies Walkthrough
- Kingdom Come Deliverance 2: Popinjay Shoot Walkthrough
- Kingdom Come Deliverance 2: Ars Dimicatoria Walkthrough
- Kingdom Come Deliverance 2: Arrow-head Walkthrough
- Kingdom Come Deliverance 2: In Vino Virilitas Walkthrough
- Kingdom Come Deliverance 2: Feast for the Poor Walkthrough
- Kingdom Come Deliverance 2: Spoils of War Walkthrough
- Kingdom Come Deliverance 2: Post Scriptum Walkthrough
- Kingdom Come Deliverance 2: The Thieves' Code Walkthrough
- Reino Vindo Libertação 2: Guia dos Trovadores
- Kingdom Come Deliverance 2: Guia do Pássaro de Prey
- Reino Vindo Libertação 2: Um Bom Guia de Limpeza
- Kingdom Come Deliverance 2: Guia de Reputação Ruim
- Kingdom Come Deliverance 2: O Guia de The Spark
- Kingdom Come Deliverance 2: Guia de Todos os Justos
- Reino Vindo Libertação 2: Guia de Busca por Justiça
Outros guias
- Kingdom Come Deliverance 2: Um Guia para uma Situação Complicada
- Kingdom Come Deliverance 2: O Guia de The Spark
- Brushes with Death DLC em Kingdom Come: Deliverance 2 — Como Começar e Completar Todas as Quests
- Reino Vindo Libertação 2: Guia de Busca por Justiça
- Reino Vindo: Entrega 2: Guia de Combate no Moinho
- Kingdom Come Deliverance 2: Dama em Perigo Guia
- Kingdom Come Deliverance 2: O Guia do Herança
- Reino Vindo: Libertação 2 — Guia da Missão Chiaroscuro
- Reino Vindo Libertação 2: Guia dos Trovadores
- Kingdom Come Deliverance 2: Demônios de Trosky Guia